Maximizing images with black and white points
Setting the white and blacks widens the tonal range of an image so that there is a full range of color in the image from black to white. This can give your image a little extra ‘pop’.
In the short video below, I’ll explore how changing the whites and the blacks affect the image. I’ll show you the different ways to set the white and black point and why, for artistic reasons, you may not always want to do this.
Setting White and Black Points in Lightroom
Final Thoughts
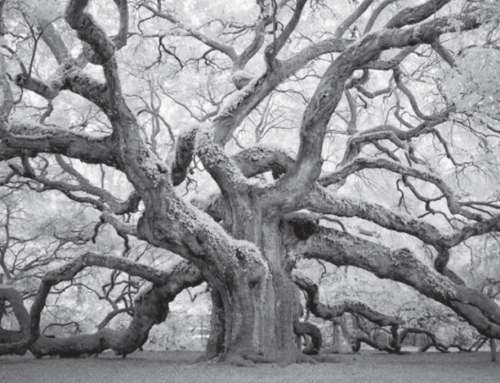
Lightroom is all about experimentation but understanding the principles gets us to our end result quicker. I chose deliberately an image that enabled us to explore white and black points in isolation. In normal circumstances, we would apply other tools such as exposure, contrast, highlights etc to an image. As a result, the effect of setting the white and black points will usually be more subtle.
Would you like to learn more Lightroom tips like this?
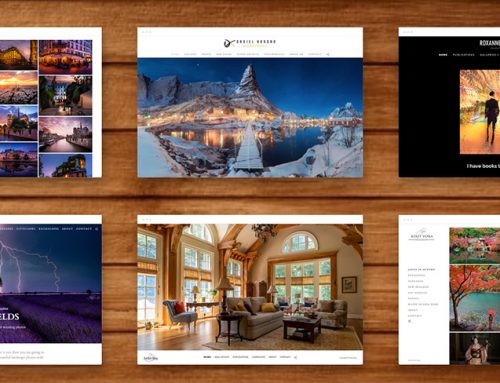
Consider checking out the Hacking Photography Monthly Edit. This is my own master class on editing in Lightroom.
In this course you will see how I edit 75 different images of all types from top to bottom, all the while explaining why I’m doing what I’m doing. You’ll learn all the tools in Lightroom, as well as get comfortable with fixing problems in all types of images.
Best part? Get 60% off this course during my sale.
I’m currently running a 60% off sale on the Monthly Edit but it won’t last long. Click the link below to get your discount!
Click here to check out the Monthly Edit.

Mike, thanks for posting Peter Domican’s video on black and white points. The concepts are simply described and illustrated. A very helpful and understated aid to understanding a key aspect of LR.
A useful,concise explanation of the black and white points. Thank you
I’m glad you found it useful Teresa! Thanks for commenting :)
Good, concise tutorial. Peter forgot to mention that you can also drag the histogram itself. I just learned that a little while ago and find it really easy and fun.
Thanks for commenting Carl! Good tip as well :)