The last-minute phone call that lead me to the apocalypse
I was sitting at home when I got a call from my friend Bradley Schweit. He has been shooting for years and recently quit his job to go full time with photography (like I did back in October.)
Now that he didn’t have to be at work at a specific time, he called me up on Sunday night at 8:00pm and asked if I wanted to head out to the Salton Sea and shoot some long exposures. The Salton Sea is 125 miles from San Diego and a 2.5 hour drive. It is a notoriously creepy place that looks like the entire earth came to an end there.
How could I say no?
Long exposures at the end of the world – the Salton Sea
If you’re not familiar with the Salton Sea, you should watch this insanely creepy video which sums it up pretty quickly.
The Salton Sea is actually an ecological disaster area. In 1900 engineers created large irrigation Canals to divert water from the Colorado River into the area. This enabled the area to become fertile and farmers to farm there.
Just five years later in 1905 a massive rainfall caused the Colorado River to overflow and breached the Imperial Valley Dike. Over the next two years the entire volume of the Colorado River flowed into the Salton area and created the largest body of water in California.
Developers cashed in on this new “Oasis in the desert” in the 1950s until the salt level in the water began to rapidly rise. This caused nearly the entire fish population of the Salton Sea to die off quickly. This means millions and millions of dead and rotting fish smell overpowered the entire town and people abandoned the entire area as fast as they could.
Winding roads, the super moon, and 98 degrees at midnight
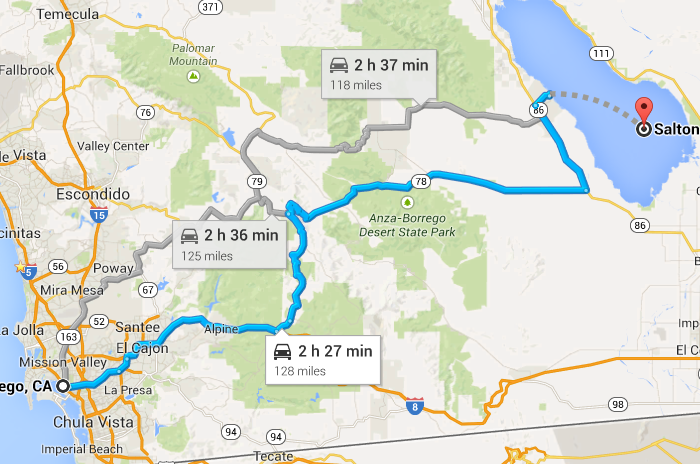
Bradley arrived at 8:30pm. We packed the gear up and headed out. The drive took us through big empty canyons in the desert. Lucky for us it was 2 days after the super-moon was out so there was a ton of moonlight on our side.
San Diego is known for being 70-75 degrees Fahrenheit all year long so it was crazy when we got out to Anza Borrego Desert and it was 98 degrees at night! This made for even more fun because it was the last thing I expected to be experiencing a few minutes before getting Bradley’s call.
Long exposures of the creepiest damn place I’ve ever been
We arrived on the western side of the Salton Sea and parked in a vast empty space next to the water. The wind was blowing at about 30 mph so we had to keep a close eye on our tripods to make sure they didn’t blow over.
Shooting the “End”
The first long exposure I took was the an “END” sign which seemed fitting for the current setting.
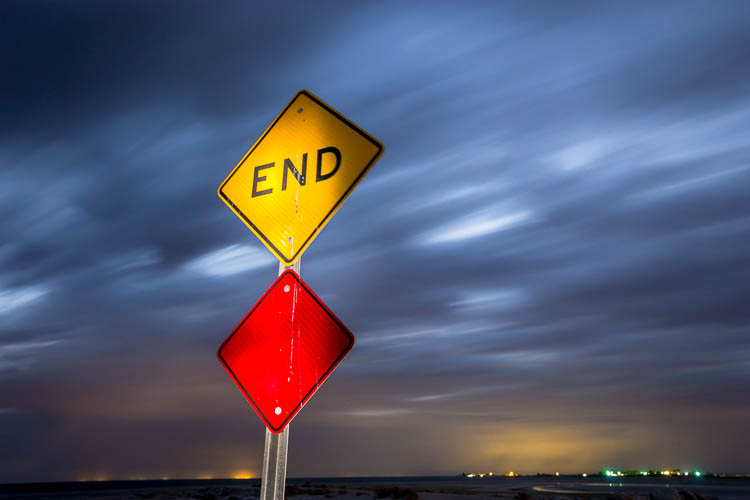
153 second exposure, f/8, ISO 1000, light painted with a flash light
Shooting the car – part 1
I then turned around and saw how cool Bradley’s car looked out in this massive empty expanse. I repositioned my tripod and discussed how we were going to create the next long exposure.
Bradley was going to walk around the car with the flashlight and light the underside of the car, while I was going to use the light on my cell phone to briefly flash over the front to light the front of the car.
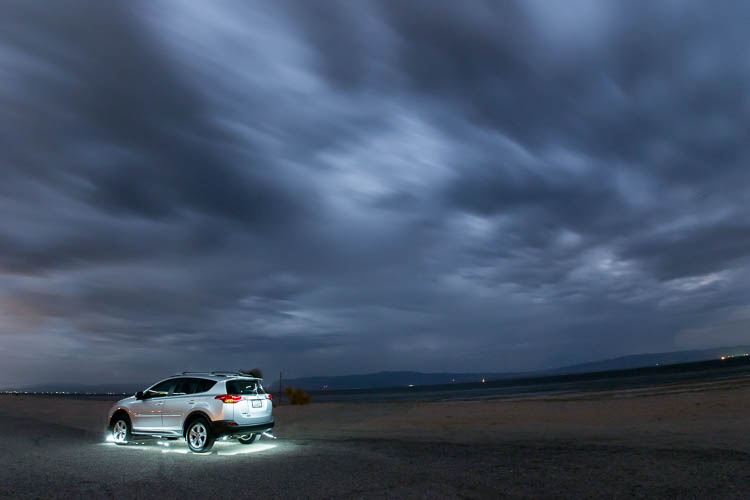
77 second exposure, f/8, ISO 2000, light painted with a flashlight and cell phone
Shooting the car – part 2
I thought it would be interesting to try making it look at little ‘otherworldly’ by adding a purple gel to the front of the flash. Bradley walked around the car the same way but because the gel was illuminating the front of the flashlight it created a neon purple ring around the car that I really liked!
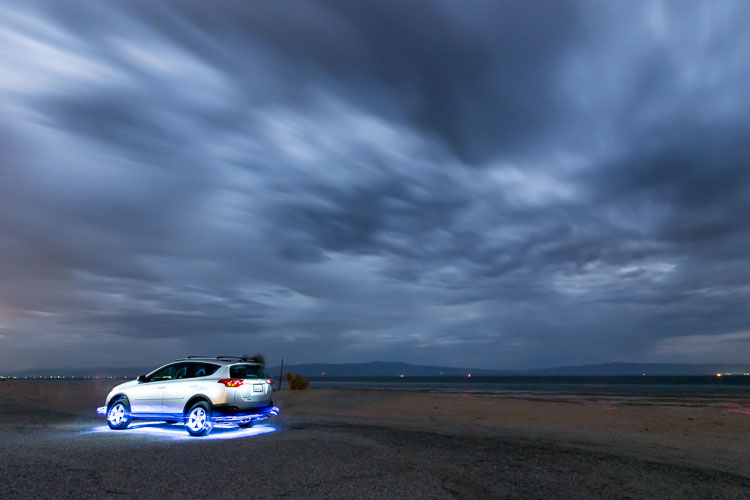
77 second exposure, f/8, ISO 2000, light painted with a purple-gelled flashlight and cell phone
Shooting the car – part 3
We decided to give the image more ‘flair’ this time. We repositioned our tripods to the front of the car to get closer and low. I wanted to show the bright moon behind the moving clouds and the “end” sign.
We kept the purple gel on the flash and set it inside the car pointing toward the ceiling to light the interior. Bradley then took a small piece of red gel and gaffers tape and put it over the flashlight portion of his cell phone to light-paint the wheels, front grill and underside of the car. I used my cell phone flash to light paint the car and light it up.
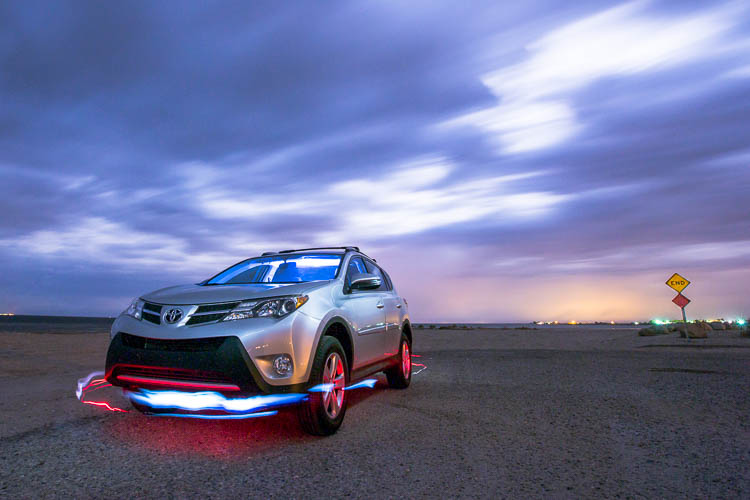
142 second exposure, f/8, ISO 1000, light painted with a red-gelled cell phone and regular cell phone
As a total happy accident when Bradley walked around the front of the car the back of his cell phone lit up. Because it was facing the camera the white light registered as he was moving through the frame!
Shooting “Sorry”
We got in the car and drove to another neighborhood that had been abandoned. This was what we came for! This place was really unnerving as it was completely dilapidated and eerily quiet.
I found this building with a disturbing “sorry” spray painted on the side of it and a destroyed mattress in front. I locked up the tripod and started the exposure. I ran into the building to the right and turned on the flashlight with the purple gel and light painted the inside of the structure.
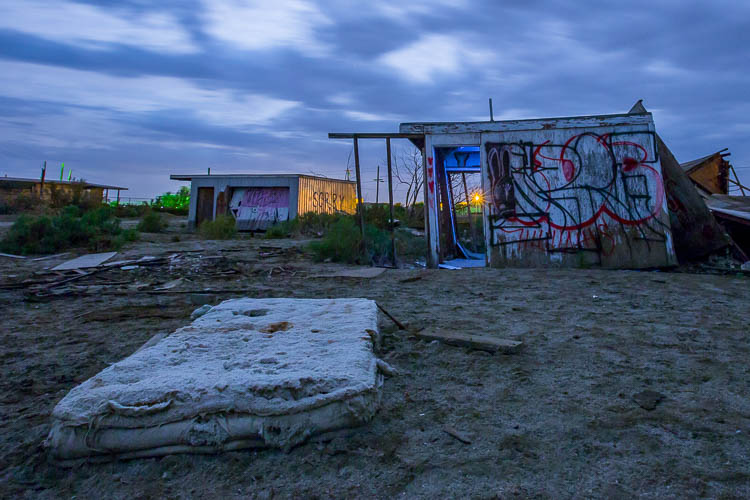
57 second exposure, f/9, ISO 1000, light painted with a purple-gelled flash light
Shooting “the haunted house”
This is my favorite shot of the night and made it worth the drive in and of itself. This building was calling out for light painting. I started the exposure and ran around the frame with the flashlight and purple gel light painting interesting parts of the scene.
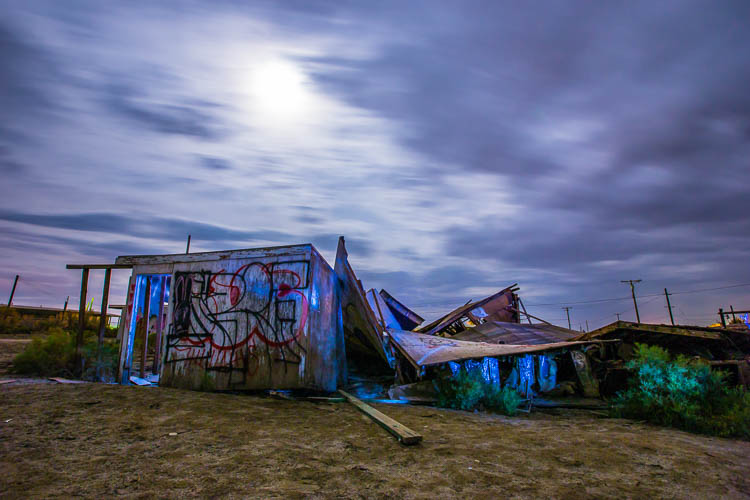
107 second exposure, f/10, ISO 1000, light painted with purple-gelled flashlight
Shooting “The Gate”
No trip to a strange location would be complete without shooting something scary/spooky. I found this big frame that looked like a gate. I started the long exposure, ran into the middle of it and head still in a menacing stance while moving my face left and right so it would blur.
Admittedly it would be a creepier long exposure if I wasn’t wearing shorts and a t-shirt, but it still was fun to shoot :)
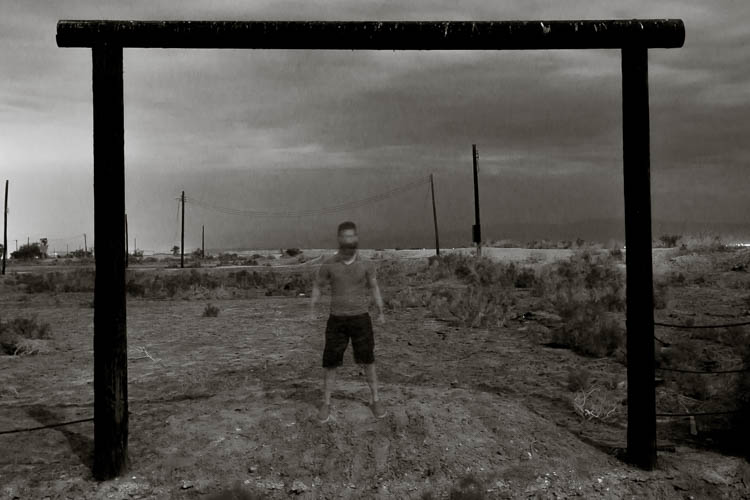
65 second exposure, f/10, ISO 640
Finally, shooting the glowing shack
I know I needed at least one long exposure image with lights inside of a house. I placed the flashlight with the gel inside the couch and took the shot. Being careful to not move the tripod, I removed the flashlight, started the exposure, and lit the inside left of the house.
I started an exposure and lit the right side of the interior of the house. Finally I started a fourth exposure and light painted the private property sign with my cell phone. I composited all the images together in Photoshop and got this:
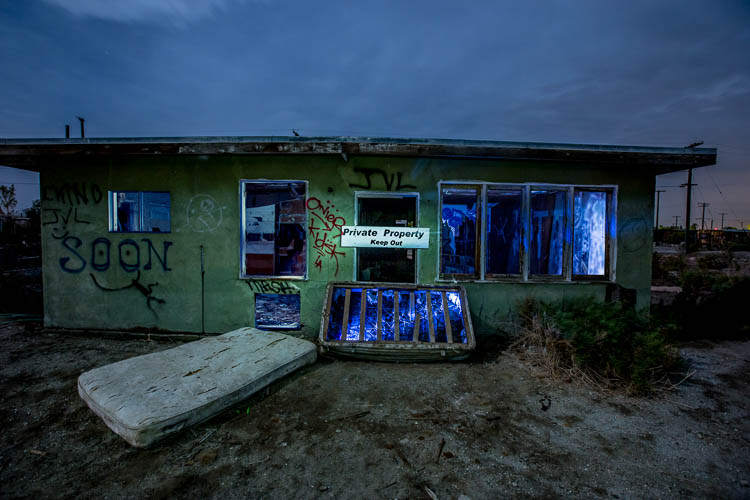
(4) 30 second exposures, f/7.1, ISO 800, light painted with purple-gelled flash and cell phone.
Overall I was really excited about the images we created. I think next time I head out to the Salton Sea I’ll arrive early in morning and scope out some more locations. I’ve been told the best locations from long exposures are on the East side.
After this image we packed up and headed back home, arriving at 4:30am. I love photo adventures!
How to edit long exposures and night photographs
You can certainly edit each image from scratch but I prefer to use Lightroom presets as a starting point. All of these images were edited with the Hacking Photography ‘Night Color Collection’ Lightroom presets.
I created these to take into account the change in white balance preferences, high ISO use, need for noise correction, and more.
If you’d like you can purchase them by clicking here or clicking the image below. If you’d prefer to try out a few, you can get 12 of my presets by clicking here.
So what gear should you pack for a night shoot?
There are a few crucial items you need to make your shoot successful.
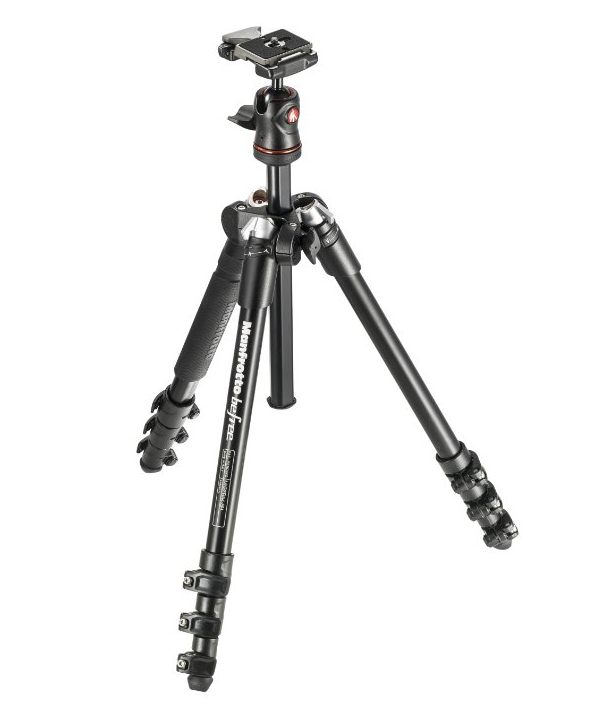
A quality tripod
Aside from your camera this is the most important thing you will need when shooting at night. You need to keep your camera perfectly still while taking a long exposure, other wise the image will blur.
You want to invest in a heavy duty, high quality tripod and not a crappy cheap $10 eBay tripod. Why?
- You don’t want your camera to fall. Bradley and I were shooting 2-3 minute long exposures and the wind was blowing at about 30 miles per hour. A cheap tripod would blow over easy because its too light.
- Cheap tripods typically don’t hold much weight. Each tripod has a max recommended weight to attach to it. If you have an DSLR camera and quality lens, it could easily weigh 8 lb. or more.
If you can swing it I recommend the Manfrotto BeFree tripod. This thing is tough and will last you forever. I’ve had my Manfrotto for 8 years and its still perfect.
If you can’t afford that one and need to get a less expensive option just make sure you confirm the maximum weight it can hold so you don’t overload it.
A wide-angle lens
This is a matter of personal preference but I love really wide shots at night. This could be a Canon 16-35mm f/2.8 like I shot wit (or a 17-40mm f/4 VR if you shoot Nikon), a less expensive Canon 17-40mm f/4 like Bradley shot with, or even your 18-55mm kit lens.
It doesn’t need a big aperture like f/1.4 or f/2.8 since you will likely be shooting at f/16 or more. The point is, a lot of the time you will want to get a nice wide shot of the landscape.
A remote shutter release
If you take the time to compose your scene and lock down your tripod, the last thing you want to do is move the camera by physically touching the shutter button.
In this case you can get a shutter release. There are two main types: cables/chords and remotes.
Cable/chord shutter release
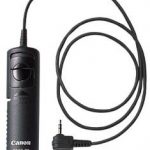
A cable is essentially a button attached to a wire that plugs into your camera. This enables you to hold the shutter release and take the photo without moving the camera.
Remote shutter release
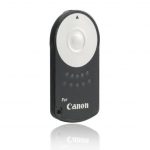
These are tiny little remotes that do not require a connection to the camera. I prefer this option because they also come in handy for self portraits. Just point it at the camera and click the button to take the photo.
This also more handy when shooting in Bulb mode (more on this below). Many camera use many different remotes so check closely to make sure you get one that will work with your camera model.
Don’t have a shutter release? Try this.
Perhaps you forgot your shutter release and need a quick solution. Simply change your camera’s self timer to 2 or 10 seconds. The 2 second timer lets you physically touch the shutter button but doesn’t start the exposure until 2 seconds later. That way you don’t accidentally move the camera by touching it.
Rosco colored gels
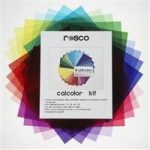
This was a life saver on our long exposure shoot and really brought out character in the images. A gel is just a colored transparent sheet that you can tape over a flashlight or cell phone to change the color of the light.
They come in (33) 10″ x 12″ squares. They can be cut with scissors to fit over small flashes or cell phones, or just taped around a big flashlight.
Gaffers tape
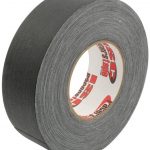
This stuff is legit! It’s insanely helpful to have if you are using gels because its easy to cut/tear, sticky but removes without leaving residue, and its tough. I use it to tape different gels over lights, attach trigger releases to speedlights, you name it.
A flashlight
A flashlight will serve three purposes
- The obvious reason: its freaking dark at night! Often it’s difficult to see your screens and menus on your camera so a flashlight can help you see this better
- Autofocus in the complete darkness doesn’t work. I use the flashlight to light up the object I’m trying to focus on, let the camera autofocus on it, then lock the focus by flipping your lens on manual.
- You can/will use the flashlight to light-paint. During a long exposure you can use the flashlight to ‘paint’ light onto your subject. More on this later.
If you really want to drop some coin, check out some of these time-lapse tools
Syrp time lapse motion control genie

This thing automates everything and helps create some pretty slick time lapses! Buy it here on B&H Photo . Don’t forget the long rope you’ll need and the IR Remote as well.
How to shoot long exposures
Once you head out into the night and find your spot, you are going to lock your camera on your tripod nice and tight.
Camera settings
Now that you are ready to shoot you need to dial in your camera settings.
Camera mode
You can use several different camera modes when shooting long exposures. If you are planning on shooting 30 seconds or less, you can shoot in aperture priority, shutter speed priority, program, or manual mode in most cameras.
Bulb Mode
For exposures longer than 30 seconds you want to put your camera into bulb mode. Bulb mode means you manually start your exposure and manually stop your exposure.
This is a fun thing as you often times have to guess what the proper time will be, unless you are a genius with math and can dial in all the stops and resulting proper exposure times (I’m not). This is another reason you want a remote shutter release, so you don’t have to touch the camera twice.
Aperture settings
At night I like to shoot apertures around f/8 to f/16 to create a wide depth of field. All the photos in this post were shot between f/7.1 and f/10.
Shutter speed
It really depends on your scene but I like my shutter speeds at least 30 seconds. This gives time for light to bleed into your sensor. Using longer shutter speeds can have cool effects on clouds passing through the sky.
ISO
ISO will depend on how dark it is and how long the exposure will be. To remove noise from your image you can drop ISO down but that will increase the exposure time. Shooting at ISO 200 would be ideal, but we don’t always have 10 minutes to wait around for an image!
I find that I’m often shooting between ISO 1000 to ISO 2500 at night if I have an f/2.8 lens on so I can squeeze more light out of a scene.
White Balance
The white balance is mostly a matter of taste at night. I prefer to shoot on the more blue side of the Kelvin scale. More on white balance and color temperature here.
Recommended Reading:
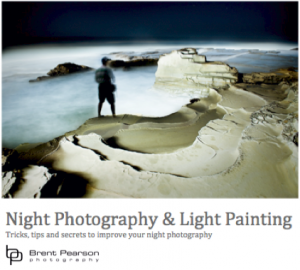
If you really want to dive headlong into light painting I recommend purchasing Brent Pearson’s ebook, “Night Photography and Light Painting” for only $9.99. This guy literally wrote the book on light painting and night photography.
He goes into far more detail with
- 80 pages of content
- how to light using flashlights at night
- light-painting techniques
- how to calculate long exposure times at night (not an easy task without these tips!)
- post productions tutorials
- even includes sample photo files so you can follow along the post productions tutorial!
It’s a pretty damn thorough book. Either click here to get it, or click on the image below:
Did you enjoy this type of longer-format post?
I’m trying to decide how you guys would like me to write this blog. Do you like longer format content like this? Do you like short form how-to articles instead?
I write all this for you to help you improve on photography so I would love it you left a comment below and let me know what you think. If you liked this post make sure to share it via Facebook, Twitter, etc.
Also don’t forget to “like” Hacking Photography on our Facebook page to get more tutorials.
Feel free to ask me any questions or suggest articles you’d like to see
I’d love to hear exactly what you’d like to learn. Either comment below or shoot me an email at mike@hackingphotography.com.
Excellent! I liked this article very much. It shows step by step all what photographers do: how the idea of photo shoot started, the research of the place, the special story each picture carries…. Later on, the detailed explanation of how to achieve great results! I learned more than in many other related articles since you don”t give for granted that we know for example how to lock focus (which I didn’t”t) and simply explained; it. Thanks for even including the picture of the gels for the flashlight, and offering great presets for night photos, etc
Congrats! Look forward to reading more articles like this one
Hi Dina,
My pleasure! I’m glad this post helped you understand long exposures and light painting a little more. I’ll get back to the drawing board and create some more tutorials. Is there anything in particular that you’d like to learn or could use help with?
WE JUST VISITED THE SALTON SEA THIS WINTER AND DIDN’T THINK OF NIGHT PHOTOGRAPHY. NOW I WOULD LIKE TO GO BACK. GREAT ARTICLE.
Hi Courtney,
I didn’t visit during the daytime! I really want to go back and get some daytime shots.