Lets talk about photographing flowers. Close your eyes and think about your favourite flower for a moment. Think about the colours, how the petals feel, the scent, and how it makes you feel. Wouldn’t it be amazing if you could show all that in a photo? I know we can’t catch all the experience but with the tips below and some practice, you can create shots that trigger all those thoughts and emotions in your viewers.
The best way to get all the subtle colours and shading in a flower is to shoot it in natural sunlight outside, but outdoor shots bring their own challenges you will have far more control with a mini-studio. I’m going to share some tips on how to take great emotion packed flower shots at home and in your garden.
1. Photographing flowers outside
First things first you need to think about the photos you want and collect together your kit: If you’re shooting the flowers on location then try to bring a fast lens with you, that wide aperture will help blur out anything you don’t want to see in the background. Some flowers are so close to the ground that you’ll end up kneeling or completely flat out to get the composition you want. With that in mind carry a sheet of plastic (like a tarp) you can roll out to lie on if necessary. Also bring along a mister spray of water and a couple of portable backgrounds (fabric is easy to carry, coloured card is easy to balance in position)
Lets start in your garden or local park: Take some time choosing your bloom; are the petals just right? Are there marks or insect nibbles? Pollen or dust can be brushed away with a soft paintbrush but you don’t want to get home and find the bloom just isn’t good enough on close examination. If possible shoot when the light is at its best, either an hour after dawn or an hour before dusk will be ideal; the low sun will be filtered through the atmosphere to give a soft but direct light.
2. Blur the background
Once you’ve found that perfect bloom you’ll want to make it stand out from the background so open the aperture on your lens, you don’t need to go too far but a wide aperture will do the isolating as well as having the bonus of enabling a faster shutter speed. Talking of shutter speed, remember that outdoor flowers are likely to be blown around in even the gentlest of breezes so be prepared to raise your ISO if necessary.
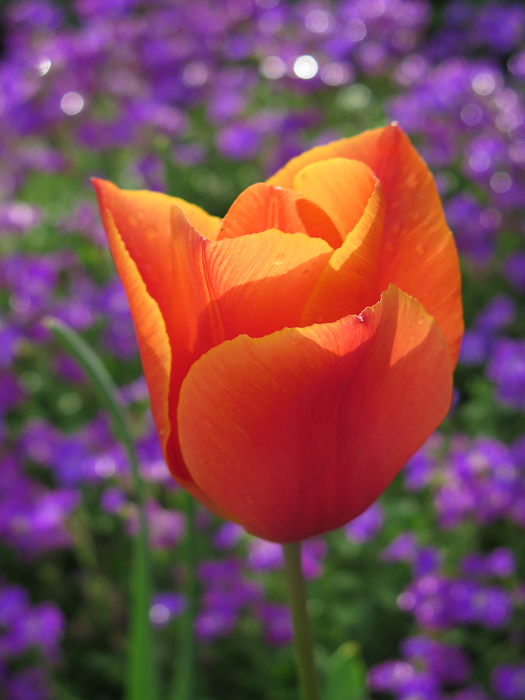
If nature isn’t on your side and you can’t get the angle you want for the flower as well as a good background then it’s perfectly acceptable to use your own background in the form of a piece of cloth draped behind your subject or a sheet of cardboard.
3. Add dew for a fresh feel
When photograping flowers try to time your shoot for early morning or after a gentle rain so that the water droplets add sparkle and interest to your shot.
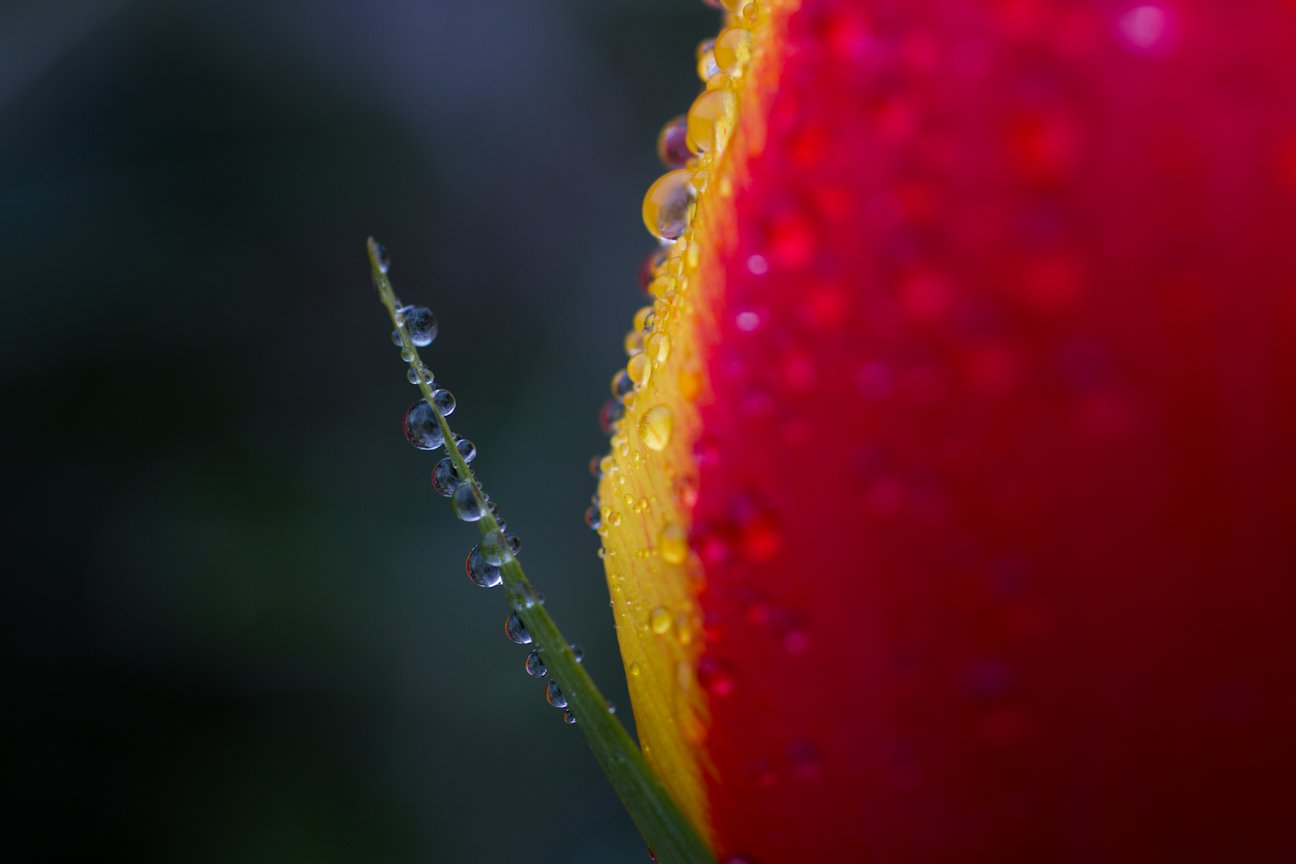
If you miss the morning dew use the mister bottle to gently add those fresh looking droplets.
4. Fill the frame
This technique works well both on location and in a studio. Zoom in close and fill the frame with all the colour and detail in the petals.
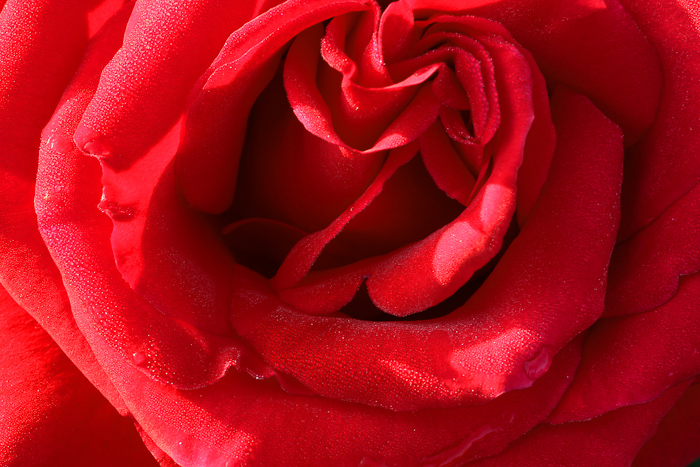
With a bloom close to the lens people will see every small flaw in the bloom, more than you do sometimes, so take as much care as possible to get the perfect bloom filling that frame.
With all the challenges of outside photography; lighting, backgrounds, weather, and hunting for the perfect flower you may prefer to nip to the florists and head inside for your photo shoot.
5. Make your own mini-studio
Mixing light sources can do weird things to the colours in your shot so always stick to one temperature.
For example, if you’ve got a few fluorescent lights and one incandescent bulb it’s better to leave that odd one out. I supplement natural window light with daylight-balanced LED lamps. As I discussed in this post on having a fun week of photos in the kitchen, I really like these inexpensive LED light panels. White balance can always be adjusted afterwards if necessary but try to set your camera to the correct source at the start of the shoot to save work afterwards.
Now you have your lighting sorted it’s time to think about making yourself a mini studio to shoot in. This needn’t be a complicated thing- a white bed sheet and some clothes pegs is a great start. Hang your sheet so it covers your table and rises seamlessly up the back of your rig. If your sheet isn’t white don’t worry, any plain colour you choose will do but remember that bright reflections from it might cause a tint on the flowers.
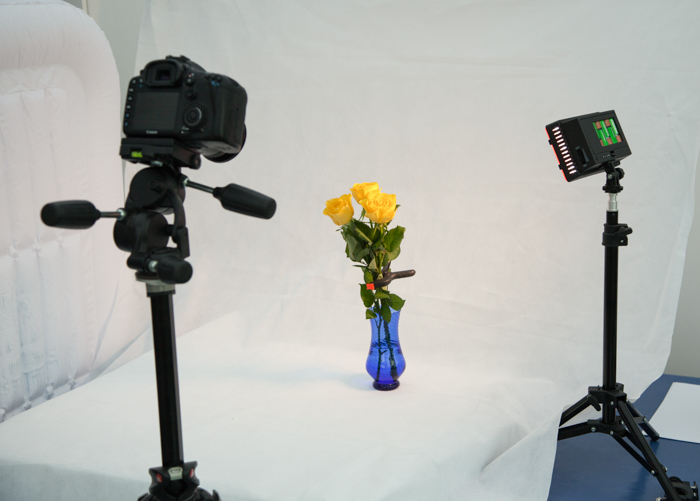
Take your time arranging everything so you end up with a seamless background and soft lighting that will bounce around and get into the deep folds of your blooms, shine lights at white ceilings, use reflectors and diffusers, do whatever works best for you.
It needn’t be a huge setup, have a look at this one that Mike created. It’s tiny but works a treat.
6. Taking your shot
Here’s an example of a simple setup for shooting a single bloom. I’m sure you’ll notice the flash pointed at the rose and think “hang on, he’s mixing his light sources” and you’re quite right. My excuse is that in the real world you need to make the best of what you’ve got and the natural light just wasn’t bright enough for what I wanted.
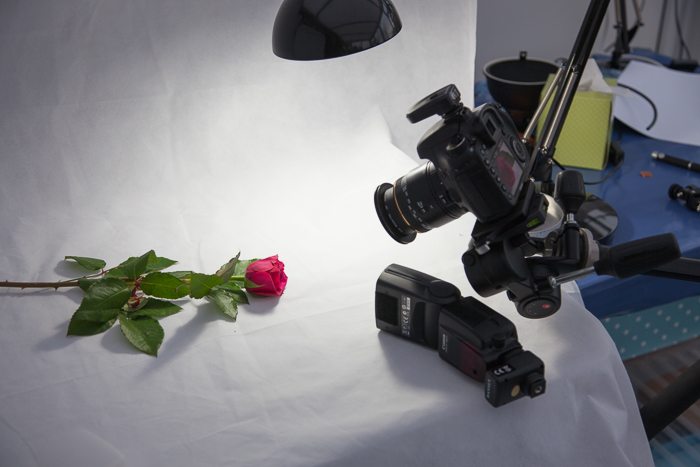
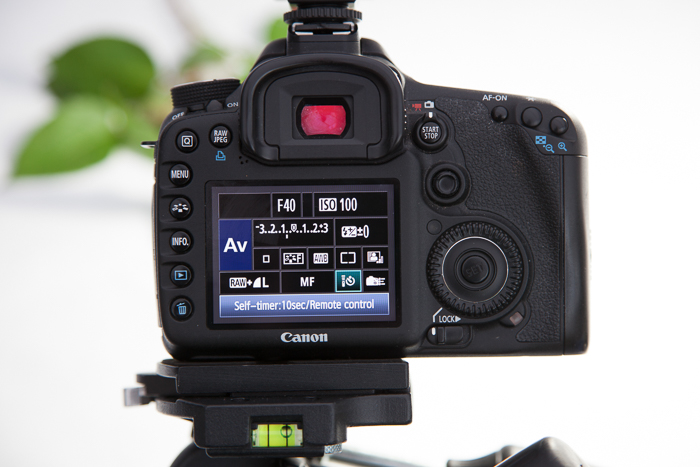
And the settings I used:
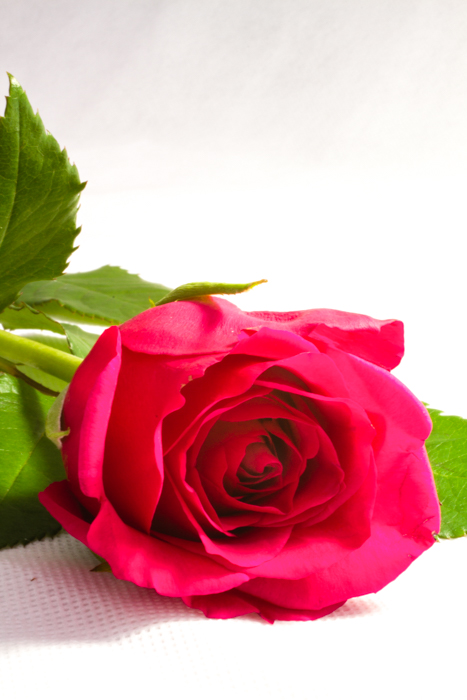
The final result after a bit of processing in Lightroom.
7. Bunch of blooms
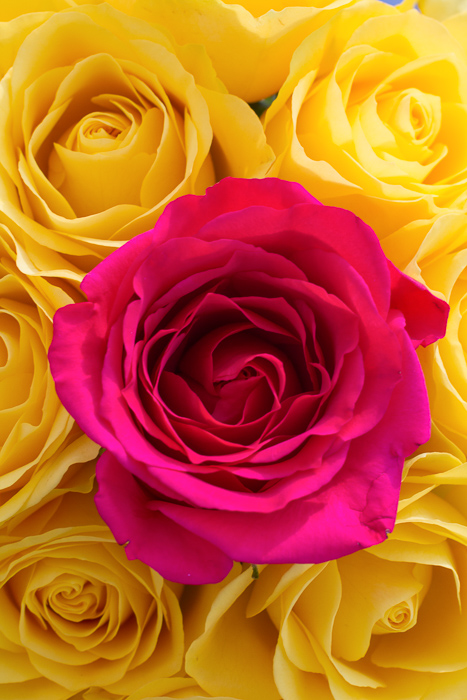
For this shot I bought three bunches of roses and spent time selecting the best blooms. I chose to add an ‘odd’ coloured rose to add interest to the frame by breaking the pattern. I try to do this a lot when photographing flowers since it breaks up the shot into contrasting pieces.
8. Tell a story
Just because flowers are beautiful in themselves isn’t always enough. A bunch of flowers can say “I love you”, “Get well soon”, “I’m sorry” and several other messages.
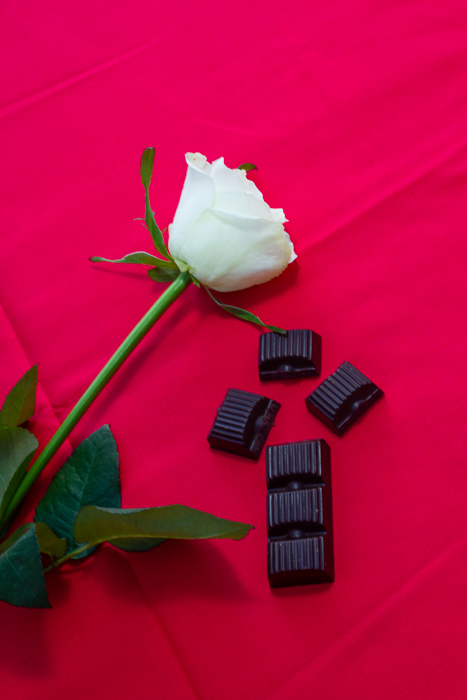
Include other items in your composition to give the viewer a clues as to what you’re telling them.
9. Small details
Here’s your chance to hone your Macro skills by showing the fine parts of your flower. As you compose the shot think about leading lines, curves and the way the construction of the entire bloom is designed to attract both you and insects, show that in the frame too.
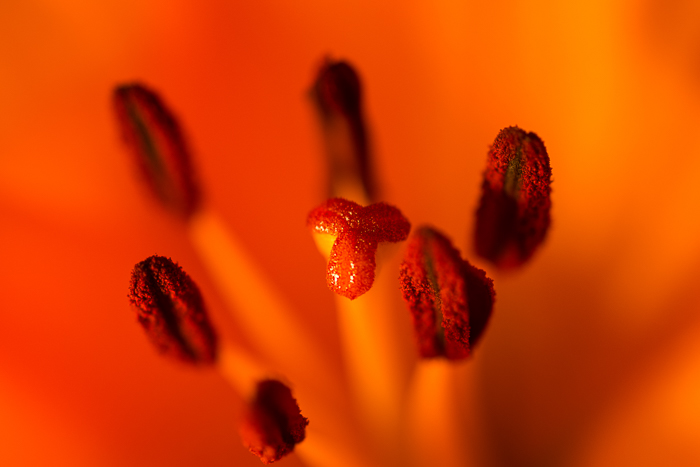
Remember that the closer you get to your target, the narrower your effective depth of field is going to be so you’ll have to narrow your aperture to compensate. The biggest downside to that is you’ll need a slower shutter speed so a tripod is going to be essential.
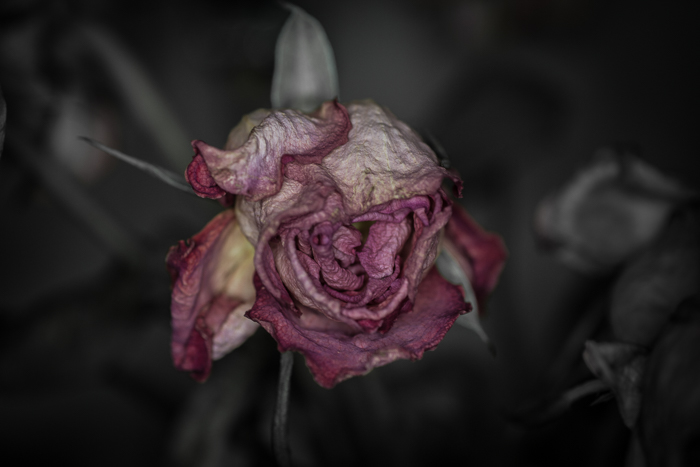
10. Beauty in decay
Just because a flower is past its best isn’t necessarily a bad thing so be patient and leave them to age and wilt in their vase.
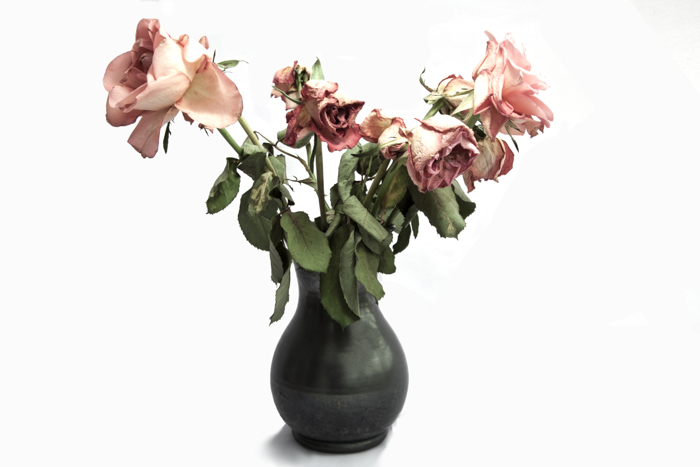
You can go one step further and leave a wilted flower to dry out and crisp. This gives a very stylised shot. It’s a bit of a gamble though so be prepared to have to work hard shooting and processing for that perfect shot.
Finishing up
Flower photography is great fun; they make great subjects and there are so many colours and varieties to choose from you are spoilt for choice. So next time you buy a bunch of flowers stop and grab your camera for a shoot before arranging them in a vase and enjoying them in your home.


Excellent post Cameron. Really enjoyed the article.
Really good article. Which lenses do you use typically?
Thanks Ash.
I hope I’ve given you a few ideas.
Hi Pete.
The lens I tend to use most for flowers is a Sigma 50mm macro. It’s definitely not the best lens in the world but it’s a great compromise between quality, price and usability.