A great sale starts with a great product photo. Many of us make items to sell online but often the first thing our customers see is the product photo so this photo needs to be attention grabbing. I’m going to show you how to take product photos that sell.
1. Keep it simple.
I am going to let you in on a secret. You don’t need lots of fancy equipment to take great product shots. Small items don’t need a huge studio. Often a simple set up with a piece of plain paper and light from the window will give you the perfect shot.
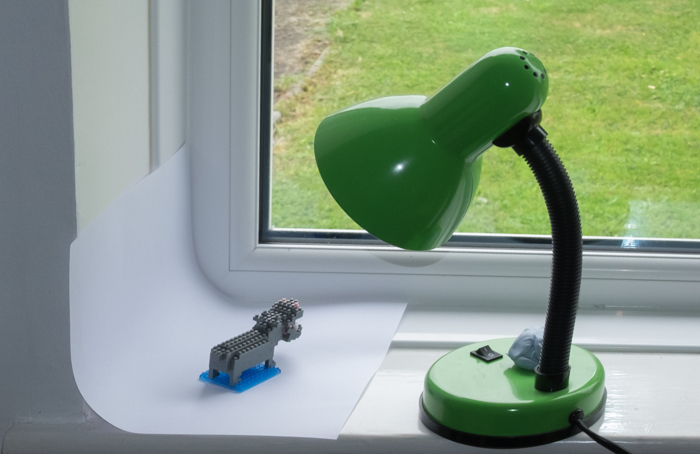
You can’t get much simpler than the studio set up above, a sheet of paper, my desk lamp and light from the window. Have a look below to see the photo I took using this set up and judge for yourself.
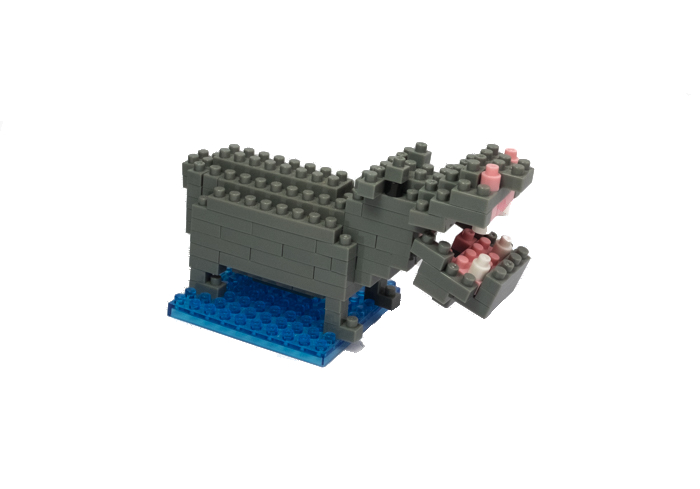
Continuous backdrops for small items can be made with a sheet of paper and some sticky tape. For more information on this have a look at Mike’s article here.
2.Think lighting.
Great lighting is essential. So when possible shoot product photos inside where you can control the lighting and you don’t have to worry about the weather.
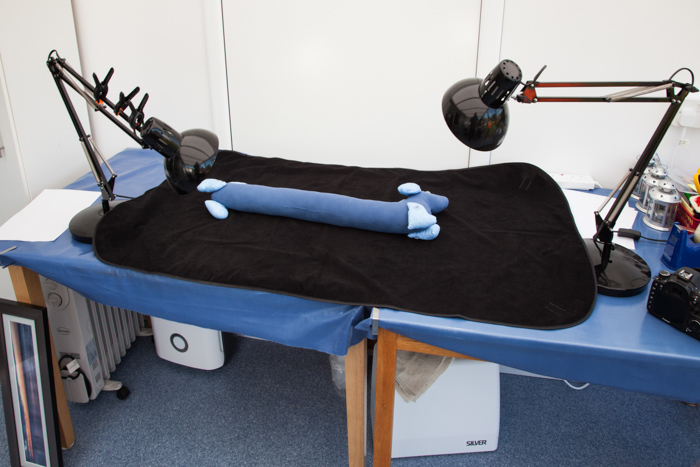
Desk lamps are easy to position and angle just make sure you use the same bulb temperatures to keep your colors true.
3. Control the shadows.
Shadows aren’t always a bad thing. Some are necessary to stop your photo looking flat and two dimensional, but too many shadows will ruin your shot.
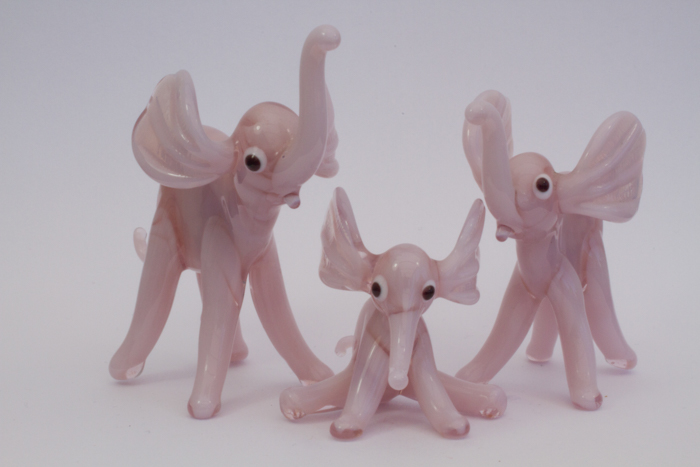
I could have taken all the shadow out of this shot but I chose to leave shadows to emphasize the shape and detail in the glass.
4. Think about your backdrop.
Choose a plain backdrop that compliments the item you’re shooting. White might be a popular choice for magazines and Amazon but its ok to pick a color that suits your product better.
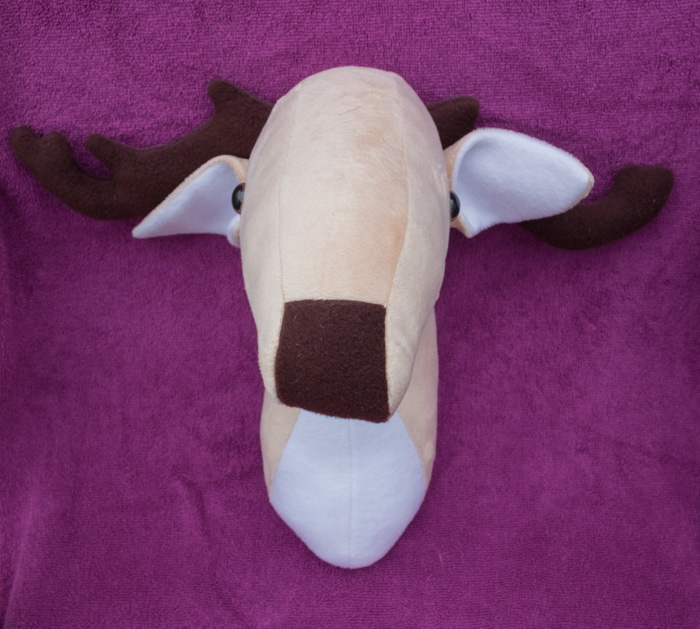
Shooting this Deer’s head against a white back drop looked washed out and dull. I chose a regal purple fabric to display the handicrafts and add some life to the shot.
5. Take your time.
Pay attention, remove creases and look for reflections. We have all seen eBay posts go viral when a careless photographer has missed an embarrassing reflection. Check your screen and don’t pack up until you are happy with the shot.
6. Set the scene.
Okay so up until now I’ve mentioned simple non-cluttered shots but rules are there to be broken. If you are selling a lifestyle item think about staging your shot to capture your viewer’s imagination. If you’re selling a picnic hamper of goodies, set the scene with a tartan rug to display your wares.
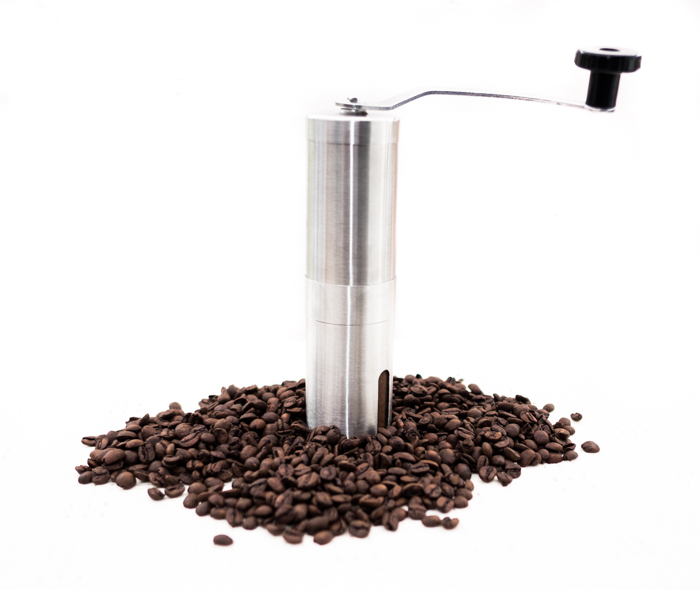
I chose to spill coffee beans to add interest and purpose to this product shot of a coffee mill.
7.Show the detail
Customers often want to see more than one product shot. So shoot your item from different angles and zoom in close to catch the detail.
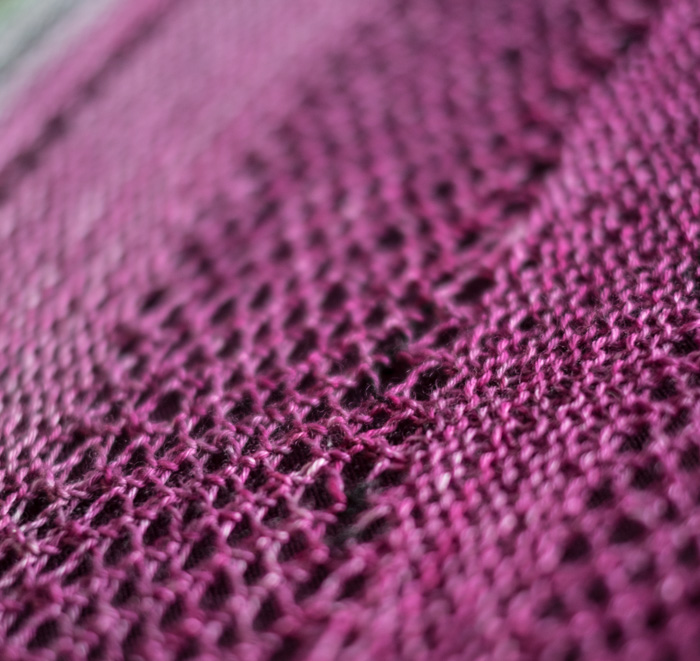
When shooting woolen crafts for customers I always take a close up shot to show the high quality stitching as well as the finished garment.
8. Post processing.
By all means reduce unwanted shadow, crop to size and clone out an unwanted item. But be careful not to alter the colors in the shot by using the vibrance, saturation sliders etc. It’s very tempting to alter the colors to make the shot look better but you could disappoint your customers.
Taking it further.
If you’re going to be taking a lot of product shots it really is worth buying the right kit.
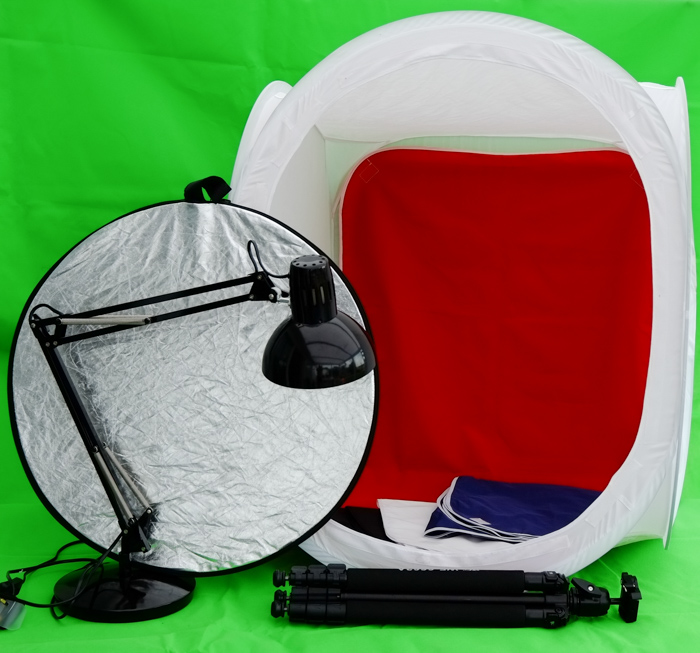
Here is my must have shopping list for going pro with product photography.
1. Light tent – An essential for soft even lighting and ease of set up. Neewer is a good budget brand so have a look at this 2ft x 2ft set up.
2. Colored Backdrops – make sure you keep these dust and wrinkle free.
3. Lighting – A minimum of two matched bulbs, but this really is a case of the more the merrier.
4. Tripod – To keep your camera stable but also to free your hands up so you can make adjustments to set with ease.
5. Grey card – To set your white balance and keep your colors true.
6. Lens – Go for the highest quality prime lens you can afford.
Finishing Off.
Product photography demands you pay attention to detail. You want a shot that will catch your buyers eyes and have them reaching for their money. But the shot also needs to be an honest representation of the product. It is well worth taking your time and making sure the shot is the best you can make it.


