A Short Lensbaby History
In 2004, professional photographer, Craig Strong, founded Lensbaby to help photographers see in a new way — in all genres, all around the world. Craig joined an old Speed Graphic lens with a short Shop-Vac hose to shoot images, otherwise impossible with an DSLR lens, which inspired the original Lensbaby lens.
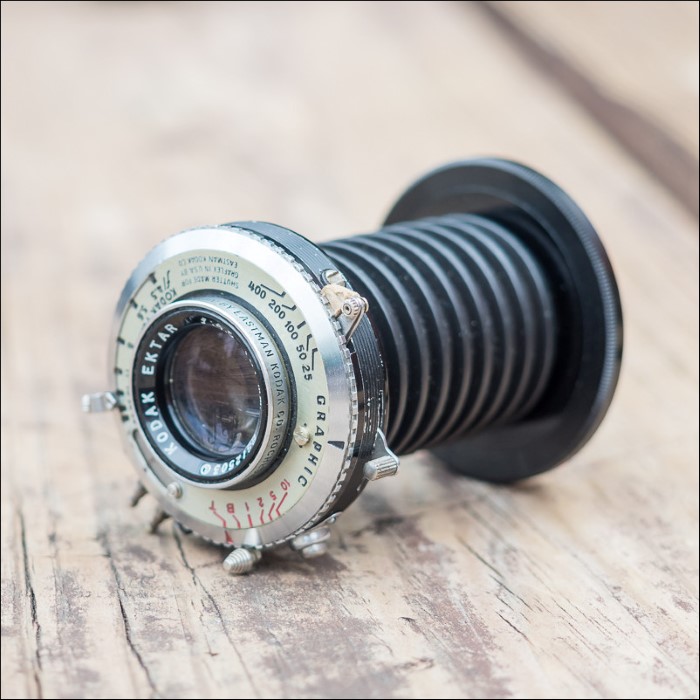
That little piece of Shop-Vac was the start of a never ending range of Lensbaby bodies, optics, lenses and accessories and the start for the Spark and Muse bodies. Both are extremely bendable bodies that can help you create unique images over and over.
Soon after the Muse and Spark, the Scout body came. Although it’s nothing more than just a aluminium tube, it makes sure your sweet spot is always dead center. It’s useful, but limited when you want to get creative and push your shots to the max.
The Optics
Lensbaby bodies are useless without the special optics that makes Lensbaby so amazing. Every single optic has a specific effect. Take the edge optics for example. Instead of the circular sweet spot, edge optics create a sharp line through the image that you can move and turn. You can enlarge the sweet spot or line by using a bigger aperture with the magnetic aperture plates.
Inserting and removing optics from the bodies is done with the cap from the little plastic containers. It takes some practice to get used to, but it won’t be a problem as long as you don’t switch optics four times per hour. It will get tedious.
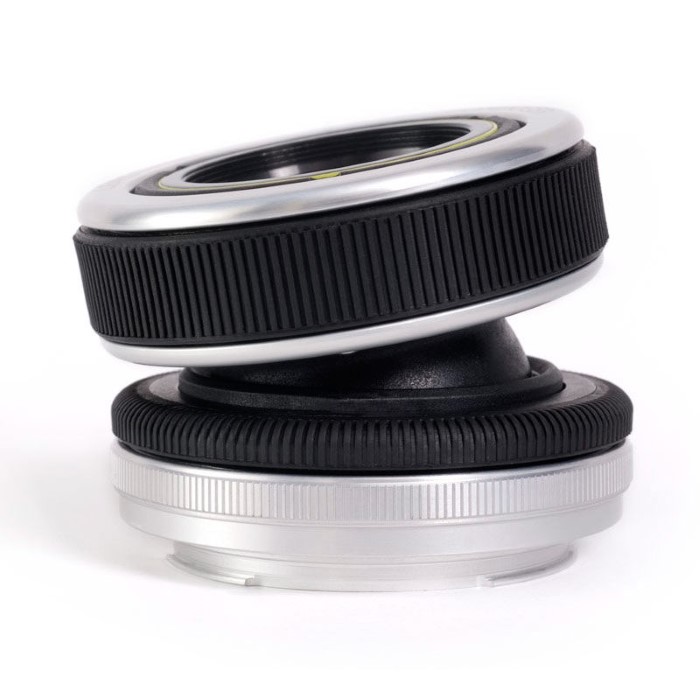
There are no zoom capabilities; only focusing is available. You focus (most of the optics don’t need focusing like the plastic and zone plate/pinhole) by turning the front rubber ring on the body. The Muse and Spark bodies zoom by pulling or pushing the tube in and out.
The second rubber ring on the Composer Pro is used to tighten down the body. Find a sweet spot and fix it in place.
Crash Course Starts Here
But for this short crash course, I would like to talk about the most simple optics Lensbaby has in its line-up: plastic, Zoneplate/Pinhole, Double Glass, and Fisheye. However, there is also a single glass optic, but that’s nearly identical to the double glass. Let’s go through them one by one, with example images.
These optics are also my most favorite optics to work with.
The bodies will attach to your camera’s body like any lens does. But it doesn’t communicate with the lens. Lensbaby gear is completely manual. So Nikon users: find that “Shoot without a lens” menu option. Canon users: you are good without any menu changes.
The latest series of Lensbaby optics have a build-in aperture system. This means, nothing is automated, so you don’t have to fiddle with aperture discs.
The Double Glass Optic
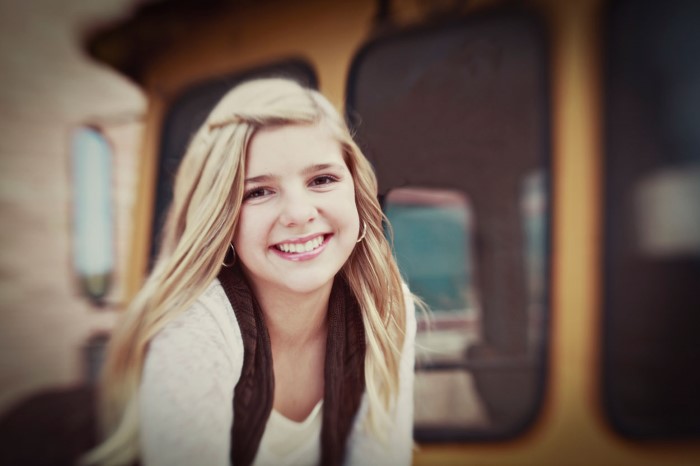
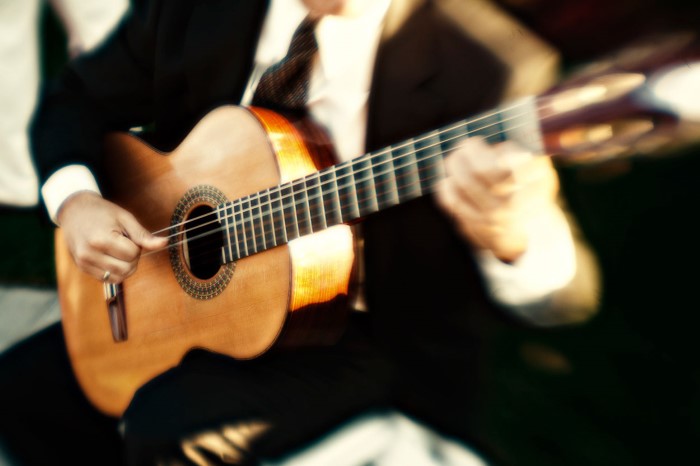
If you want sharp subjects, this is the optic you want. This optic has two lenses that are polished and coated to act like they are housed within a real lens. The 50mm, f/2 double glass optic delivers a sweet spot of sharp focus . Used with the right aperture disc, it is ideal for portrait shoots. Wide open, and with the right subject, you’ll end up with the most amazing dreamlike bokeh.

The Plastic Optic
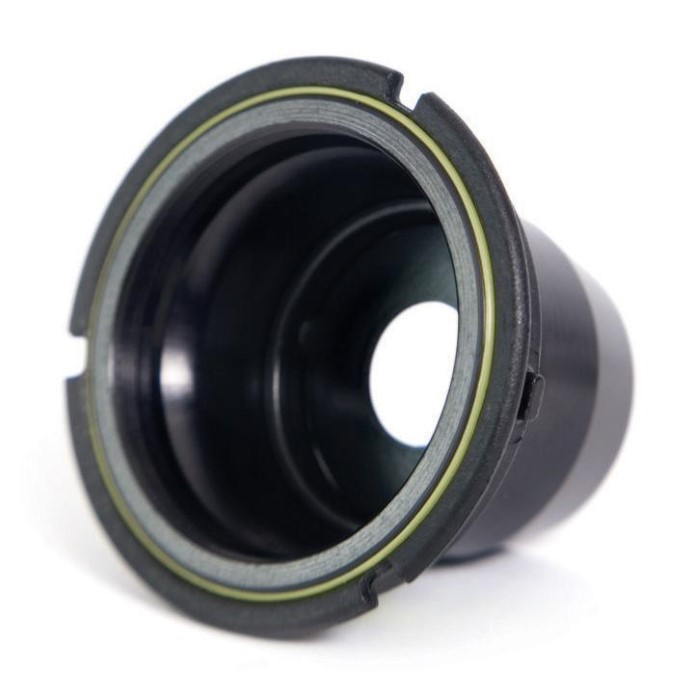
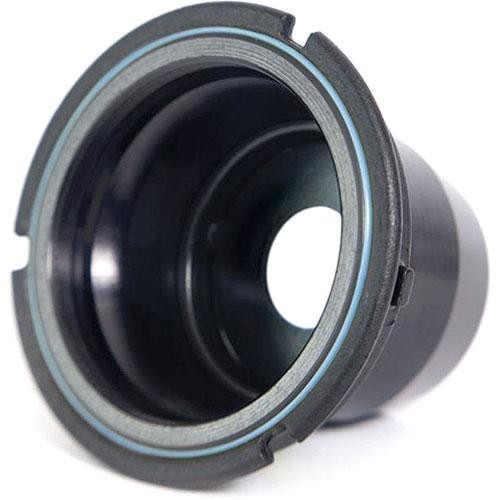
Like all optics, the plastic optic shell is made from metal, but the lens inside is made from plastic that is somewhat polished. Forget getting sharp images with this one. No edge will be sharp and it will get worse towards the edges. When wide open, it blurs and diffuses in a dreamy way that Holga™ and Diana™ camera lovers will especially appreciate.
The Zone plate/Pinhole Optic
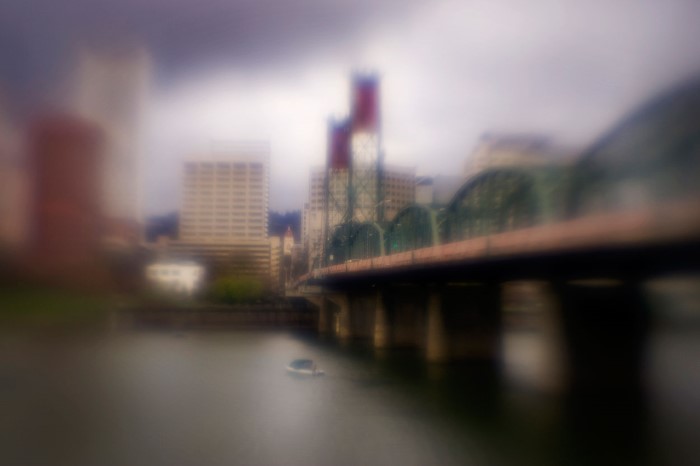
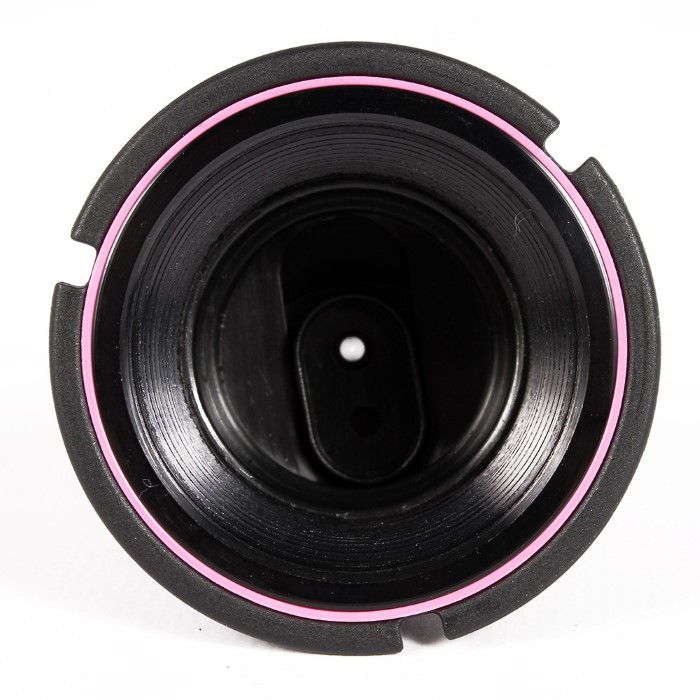
This is a 2-in-1 optic. You can change between the zone plate and pinhole by moving the slide inside.
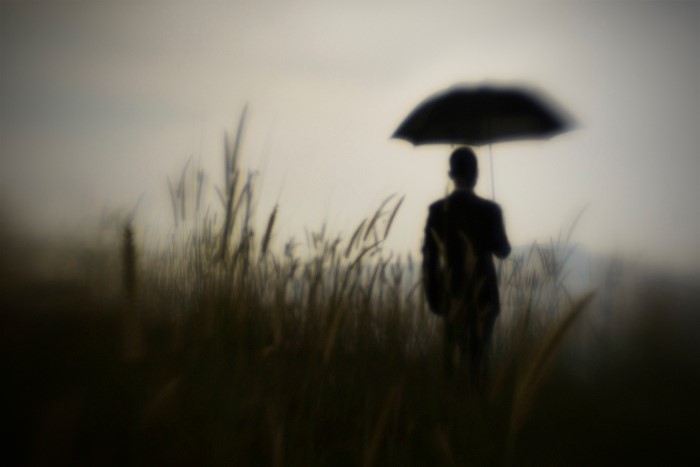
By using the pinhole/zone plate optic, you won’t need to worry about setting the f-stop with the aperture discs. It will be either f/19 if you’re using zone plate, or f/177 if you’re using pinhole. This optic is great if you want to create long exposures or somewhat long exposures with a grainy, gritty, and somewhat dreamy look to it.

The Fisheye Optic
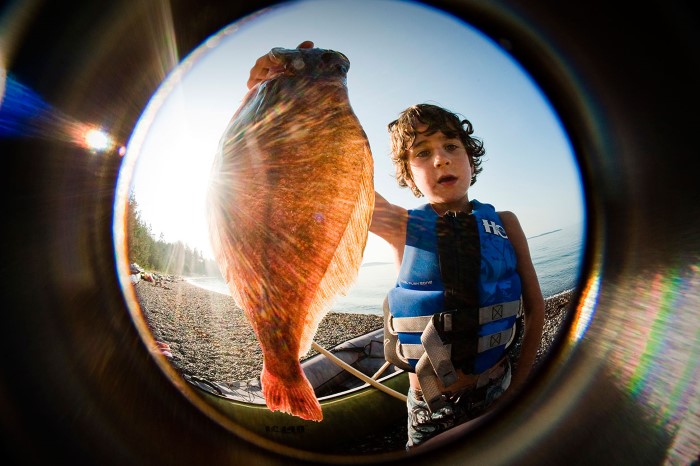
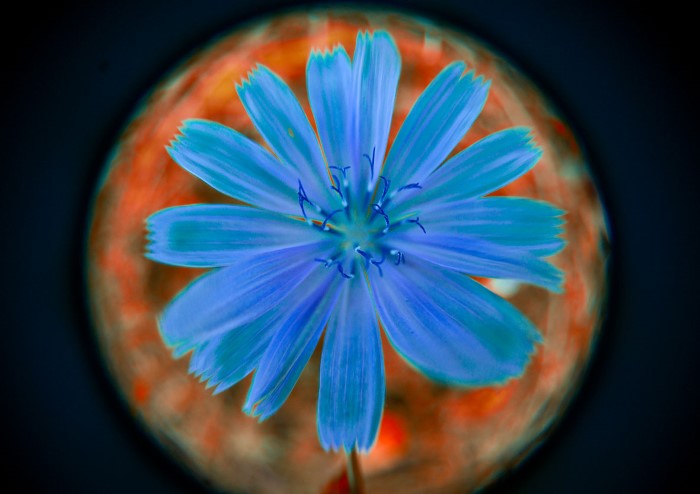
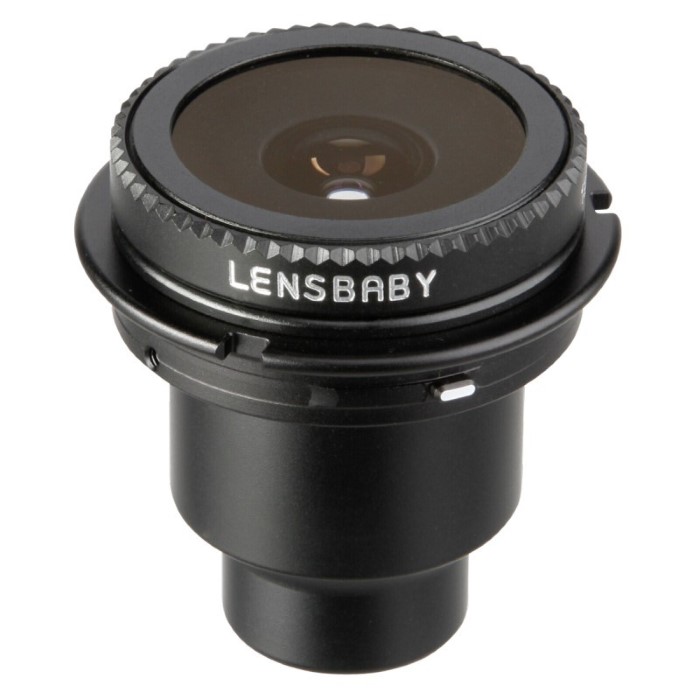
We all know fisheye lenses. And the 12 mm Lensbaby Fisheye is no different. On a full frame camera it will give you a perfectly round image. On a aps-c camera, you will end up with a filled frame that shows a very distorted image. This optic is amazing for filming things like skate ramps and up-close shots of animals. You don’t need any aperture discs with the fisheye optic. From front to back, everything is tack sharp.
This optic, like the others, is unfinished on the inside. There is no special coating to prevent sun flares. Play around with it, shoot with the sun in the frame and you’ll get amazing sun flares.
There is no reason for you to shuffle this optic around to find the sweet spot. Everything is sharp.
Let’s Get Creative
For the next part, it’s good to know that the Lensbaby optics and bodies are in no way able to communicate with your camera. It’s all manual from here, (Lens) baby! Canon cameras can handle Lensbaby’s without any problem or menu adjustments (as far as I know – correct me if I’m wrong, please). But Nikon cameras have to be taught to work with a manual lens.
The next two images contain nothing else but a bowl with aluminum foil and food coloring down the sides. That’s it! This proves that you can be creative in your kitchen for a few bucks. And the images also show what happens when you move the Composer Pro all the way to the side. It’s like a jellyfish spawned from the middle. That’s right!
Both images were shot with the double glass optic, no focusing, and without any aperture disk. The iso was set to 100, the speed was 1/100s and there were two daylight lamps right on top of the bowl. I pulled the Composer Pro to the closest focusing distance and just moved the body around.
The Results.

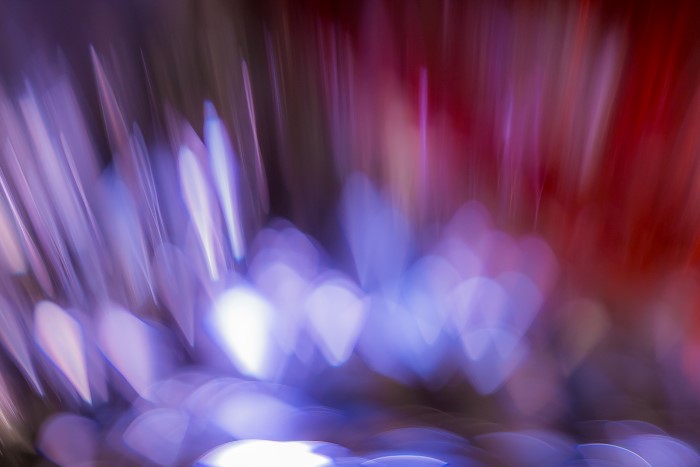
You can stretch this even more. How about ice cubes with food coloring, a double glass, and macro converters? These shots were lit with a flashlight at some distance. There was a snoot on the torch to prevent the ice cubes from melting. I would’ve never guessed that flashlights could give off so much heat.
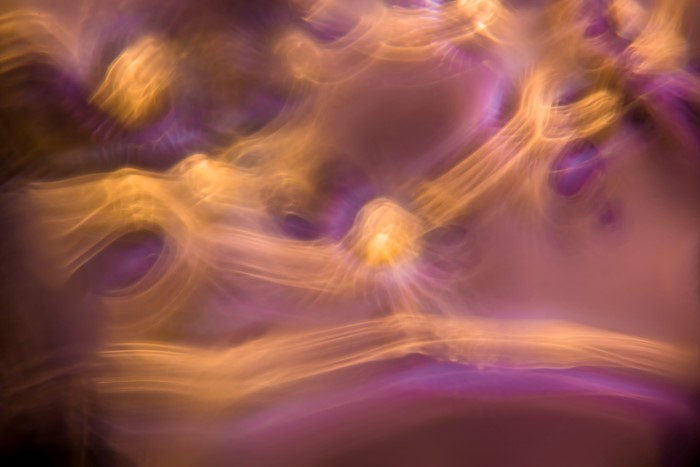

Long exposures and light painting have always been something I have enjoyed doing. But you can go easy on yourself. No tools, no lights on sticks, or steel wool. Just take your pinhole optic on a tripod. Put it on your passenger car seat and start driving. Start your exposures with a remote and with random shutter speeds. The following two images were produced at night. Iso 100, 30 minutes exposure and turned negative in Lightroom.
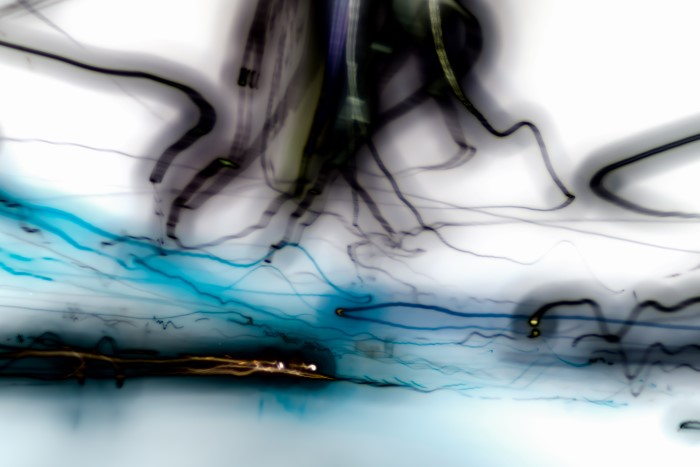
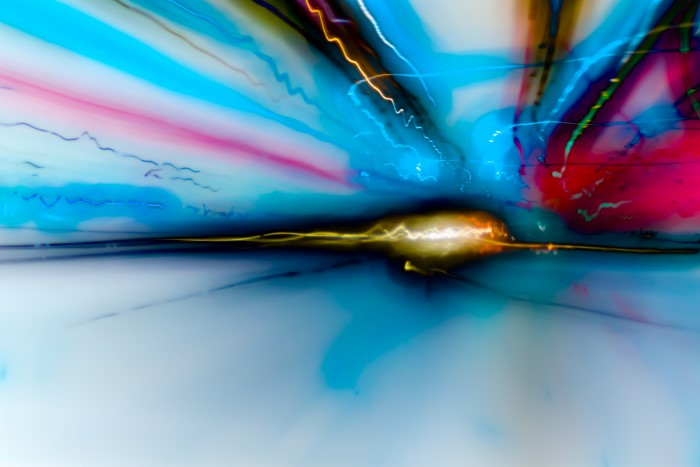
These images just show a tiny sample of what can be done with Lensbaby. Just think about the possibilities with landscape photography!
I hope I was able to teach you a thing or two about Lensbaby. Anything can be done if you take it one step at a time.
If you have any questions, find me on Facebook or leave a message in the comments.

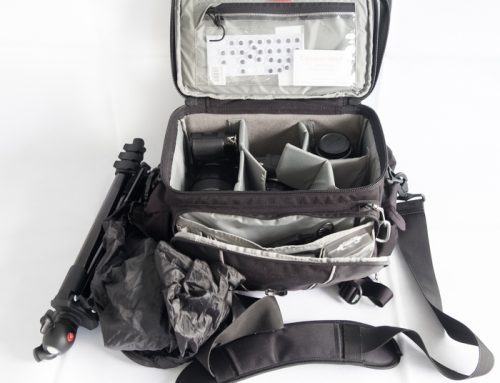

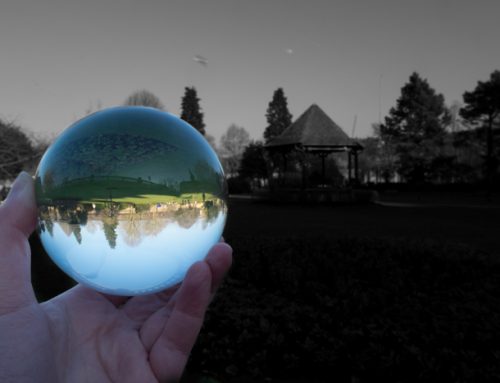
The special effects that can be created by LensBaby lenses are without question quite beautiful. However the issue for me with these lenses is that they cost a lot of money and require additional space in my already heavy bag.
Given the ability to create many similar effects in post production with various applications, it seems more cost and space efficient to me to create special effects on my computer rather than trying to do so in the camera.
Just my thoughts…but I’m a guy who loves computers and post processing as well as photography! I’m NOT one of the people who feels like unless I got the effect IN CAMERA that it is not REAL photography.
I guess to each their own.
Awesome post. I have definitely learnt a lot from this. Thankyou
Excellent blog post Robert. I have had a distant eye on acquiring at least one of the lenses for use on a 4/3’s. Your post has brought that desire forward. My imagination goes wild with the possibilities. Thank you for sharing your wisdom and experience with these gems.
Thank you for posting! Do you have any suggestions for the Velvet 56 lens? I just got one this last Christmas.