Last Christmas I opened a present to find a shiny solid glass ball with a note saying ‘for your camera have fun’. My fascination with crystal ball photography was born. It’s always fun to learn a new technique and challenge yourself and using a crystal ball (also called glass orb) will do just that.
So here are a few tips, tricks and ideas I’ve learnt to get you started with choosing a subject and taking your shot. I hope you get creative and enjoy the technique as much as I do.
1. Know what to expect
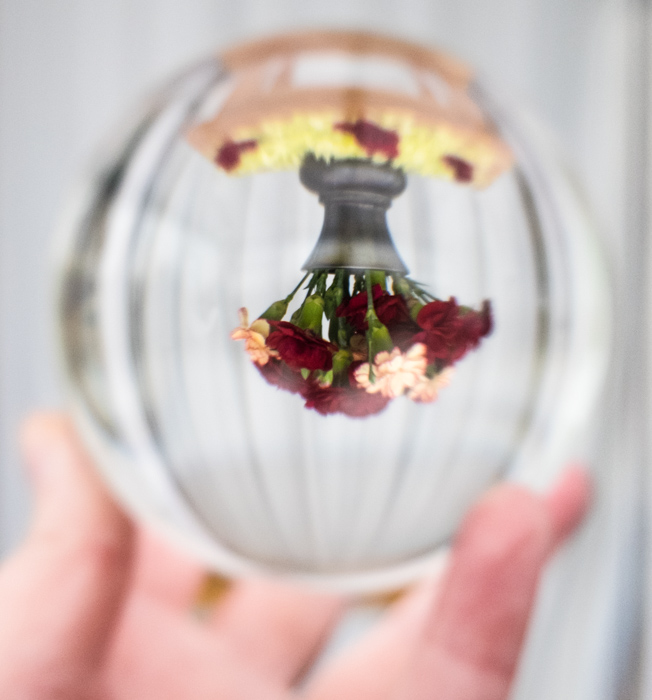
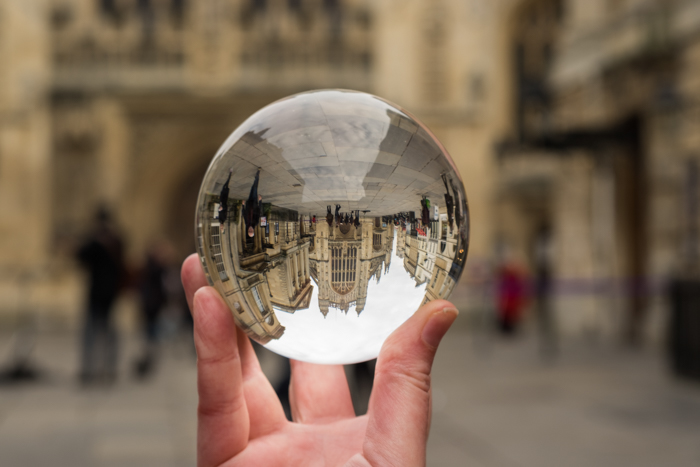
A glass orb has two main effects on the scene. Firstly it acts as a fisheye lens and tries to show a 180 degree view. Secondly it flips the image upside down. It might sound a bit dull but some of the images you can come up with will be real show stoppers!
Trying to visualize what the finished frame will look like is difficult, the easiest way is to actually hold the orb up and look through it. Some things will look amazing and some just won’t work at all.
TIP: Keep checking your LCD screen as you shoot to see what works and how to improve the compositions that don’t.
2. Buying your crystal ball
Don’t just rush out and buy the biggest orb available. As with a lot of things, size is important but smaller orbs are easier to carry and can let you show more of the background. Remember you may have to hold the orb at arm’s length whilst shooting and they soon get heavy. As a guide my 4 inch orb weighs over two and a half pounds.
The shots in this article were taken with my 4 inch orb. You need a good quality orb with unblemished glass. Prices vary but you don’t have to break the bank so shop around. Have a look at this range of orbs over on amazon a 2.5″ orb starts at $17 and a 4″ orb is $30. You will also find them on display in new age and crystal shops.
Make sure you buy a few different stands for your orb to give you choice. Curtain rings and silicone egg cups make useful and cheap supports. Fossil and gem stores sell wooden and translucent mounts but get creative and try whatever you can find.
TIP: Test out the weight you can comfortably carry and hold at arm’s length by holding a 1lb/500g bag of sugar (or similar) with stretched arm.
3. Be safe
Before you take your orb out of the box you need to remind yourself that you’ve just bought a magnifying lens that will start a fire if you let it. You don’t need a lot of sun to do a lot of damage either.
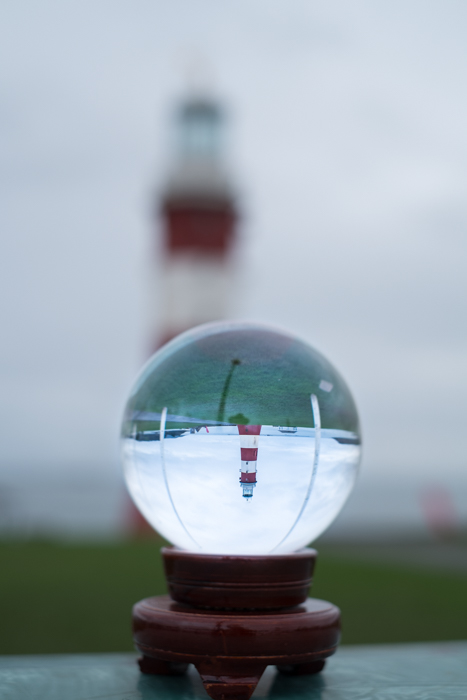
When shooting this lighthouse on a cold January day in the UK It took only a few distracted seconds before my shirt started to singe.
TIP: Keep your ball in a sock or fabric pouch to avoid any unfortunate accidents. Never display it on a window or in direct light.
4.Positioning your crystal ball
The distance between your camera and crystal ball is critical to your image. Move your camera away from the ball for a crisper image and closer to it for a more distorted look.
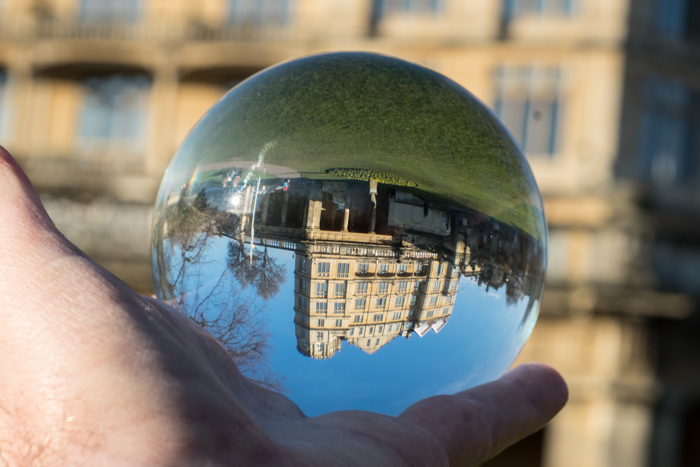
Shade is your friend, sadly your crystal ball will pick up reflections and these can ruin your image. Look around you and wherever possible shoot from a shady spot.
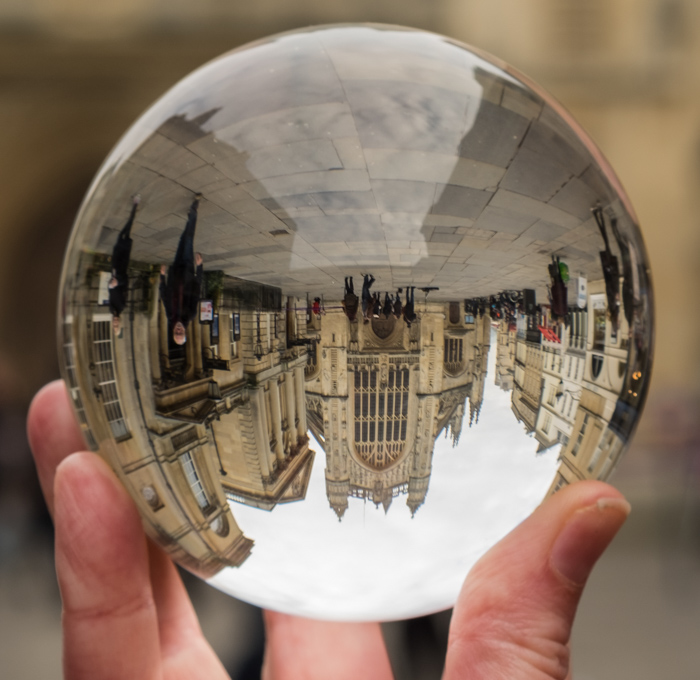
Look at the shot above to see not only reflections but my wife’s thumb and feet in the frame. It always pays to check your view and carefully position your crystal ball.
TIP: Rest your ball on something raised and shoot from below to avoid too much ground in your image.
5. Choose your Lens
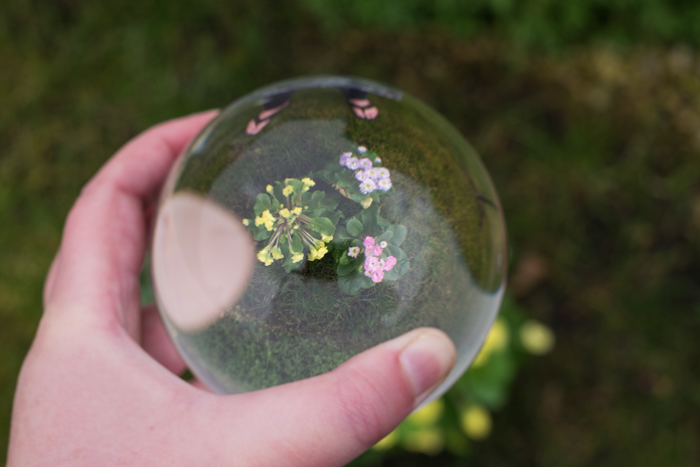
Crystal ball photography allows you to be really creative. You can create some quirky and abstract shots and capture whole scenes in your ball. With that in mind there are no rules when picking lenses and styles.
I suggest starting with a zoom lens that covers between around 20 to 60mm.

For a narrative shot you need the wider, shorter, focal length so the background adds context.
Use the larger focal lengths to fill the frame with the crystal ball
TIP: Keep in mind the closest distance your lens will focus at, this is particularly important when you’re shooting handheld. As a guide a 60mm macro lens will fill the frame when you hold a 4 inch orb in your hand.
6.Think about your depth of field
Picking a depth of field has a huge effect on your image. The following two shots were taken at the same time from the same position the only thing I changed was the depth of field.
I used f2.2 to blur the car and f11 for a sharp car in the background.
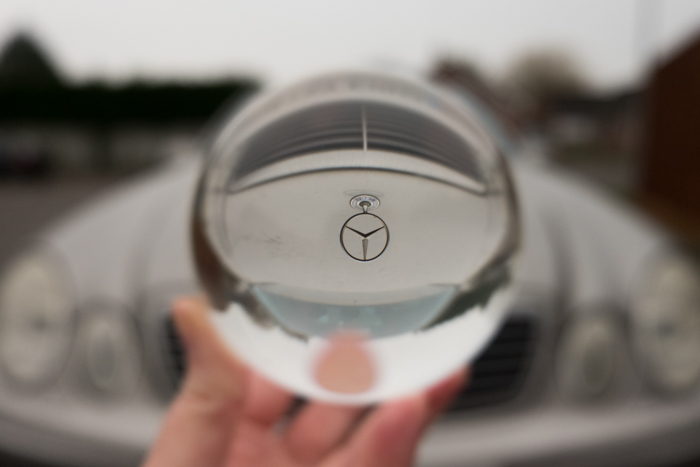
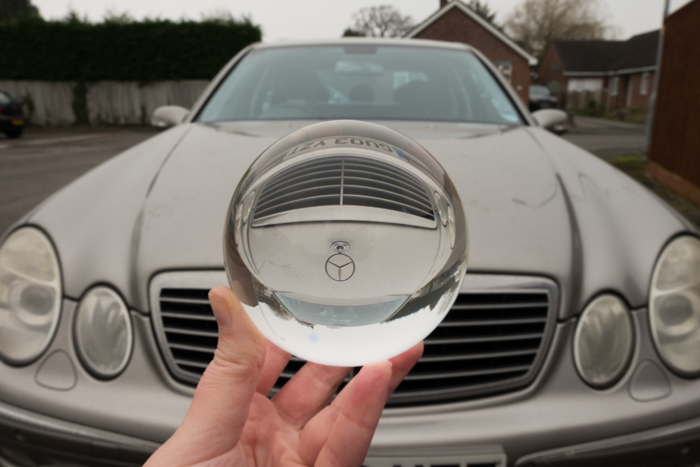
TIP: Make sure you lock focus on your ball to take the shot and not the background.
7.Pay attention to processing
Your work isn’t over yet but hopefully your fun isn’t either. Take some time to look at your shots and process them carefully. Don’t be too hasty with the delete button but don’t keep rubbish.
Selective desaturation is a good starting point. Use the radial filter tool in Lightroom to isolate your Crystal ball. This allows you to process the background and crystal balls in different ways. I used this technique for the lead photo in this article.
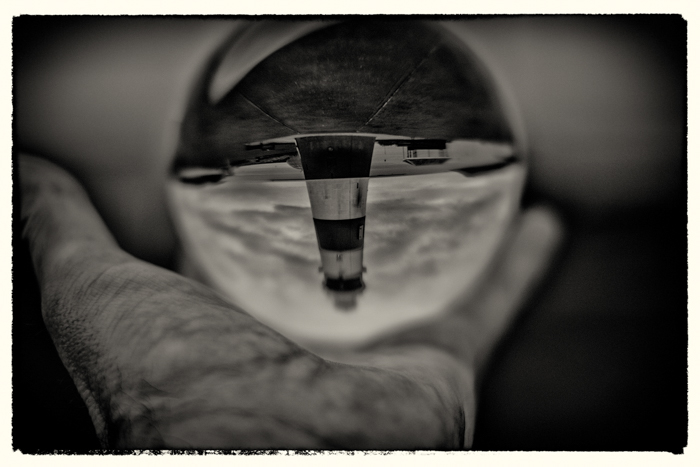
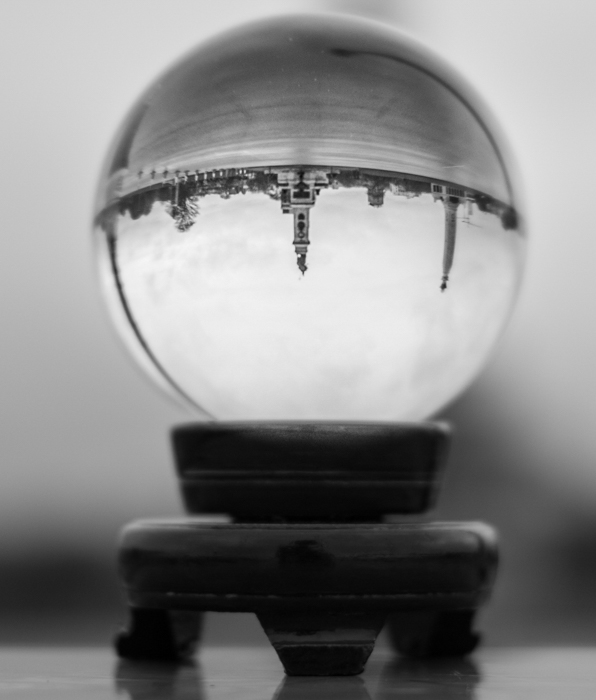
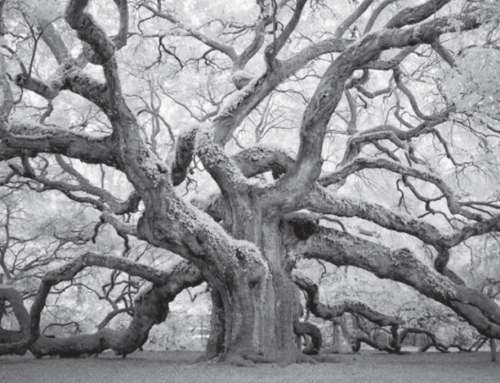
Lighthouses make me think of the fisherman they protect so I wanted an aged and weathered look for this image. I chose one of Mike’s Lightroom Black and White presets as a short cut.
This shot looked great when I was taking it but when I got home it seemed a bit ‘So what’?
Here’s the result after a hard crop, much better. The moral of this story is to expect a fair bit of processing.
TIP: Always try rotating your image before deciding on which way up it goes.
Rounding it all up
A crystal ball can create really interesting shots out of so-what scenes. They add something unusual to your albums. This article gives you the basics to get started but the best way to learn is to get out there and start being creative. Study your images and learn from your successes and your mistakes but most of all have fun.

Nice. Not something, I’ve ever thought about. Will need to give it a try.
Love this. A photo using this technique won Grand Champion Photo at our local show earlier this year and I was fascinated. Can’t wait to try it !!
Hi Jenny.
Go for it! Don’t forget to share a few of your shots on the forum please.
Great article, Mitch, you’ve inspired me. Just bought the smallest sized ball on eBay, can’t wait to try it out.
Hi Lynnette.
Fantastic! Good luck with it, I hope you have as much fun with it as I’m having with mine.
Good tips. I bought a 80 mm ball and its good to experiment. Warning: avoid using in direct sunlight. I burnt myself and also the lens may get damaged. Thank you Cameron.
That is a very helpful tip! Thank you for sharing.
Quality crystal ball act as a fish eye lens and show a 180 degree view flipped upside down. This may sound dull but some of the images that can be captured with this accessory are truly breathtaking.