What if every photo you have ever taken was suddenly gone? Permanently. Hundreds or thousands of hours of shooting and editing blown away. This could easily happen to you without a good backup process.
If you’re thinking, “I’ve read a little about backups, archives and ‘the cloud’… it sounds complicated and I just get more confused,” you can now stop worrying. I’m going to:
- Breakdown the top dangers to your data (i.e. Why you need to backup)
- Address the confusion around backup versus archive
- Walk you through steps for setting up your own backups, local and off-site, to protect your amazing photography and other data
The Danger is Real
If all of your work is only on your hard drive, you could easily lose everything and the risk arises from multiple factors including:
Failed Hard Drive – I have worked in Information Technology (IT) for 20 years with the last 11 focused on designing data storage and backup solutions. A year ago, my own external 3TB drive (the newest in my system) died with no warning. Lucky for me I had a backup! There’s a well-known maxim in IT…
It’s not a matter of IF your hard drive will fail; it’s just a matter of WHEN.
Human Errors – One of the most common causes of data loss is simply human error. These include: accidentally deleting the wrong directory, formatting the wrong drive, or saving new work by the wrong name which then overwrites something else. It is not difficult to accidentally delete entire folders of photos or your Lightroom catalog.
Viruses and Malware – Unfortunately we live in a world where people write programs specifically to wreak havoc with our lives. Numerous new viruses are created every day, so even the best anti-virus software cannot fully protect you.
The latest type of threat, ransom-ware, locks/encrypts all of your files and demands that you wire them money (a few hundred dollars, or in the recent case of a hospital, a few million dollars) to get the key to unlock everything.
Fire and Other Disasters – Two friends of mine have lost their homes to fire over the past five years. Luckily, everyone was safe, but they lost everything in their homes. Even if you have a great backup solution, if it is only backing up to another device in your house; you may still lose everything.
Backup vs. Archive
I regularly read posts where people are confused on the topics of backup and archive. While sometimes mixed together in conversation, these are two completely separate topics.
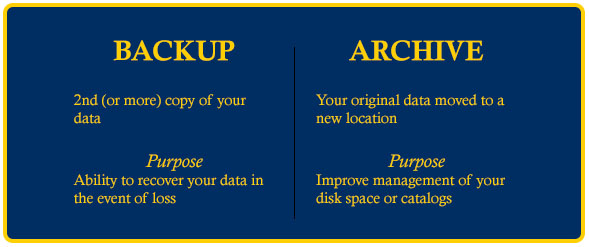
A Backup is a second (or more) copy of your data in a different location. This could be a second hard drive, CD/DVD, or cloud backup service. Preferably it is a combination of at least two. The purpose of the backup is to be able to recover your data if one of the “dangers” listed above affects your original.
An Archive is moving the ORIGINAL data to a new location. Think of the old paper-record days – At the end of a year, old folders would be moved from the main filing cabinet to a warehouse of archived records.
The information was still available, but you literally had to travel somewhere to get it. In the digital photography world, you may archive because your main catalog and/or drive are full or you just want to separate out your old projects.
- An archive is the new location for your original data – You still need to back it up! Or, if things will not be changing in it at all, make sure you create more than one copy of your archive before you remove it from your backups.
- Having a backup of your old projects, via some type of backup software, does NOT mean you have an archive and can delete the originals. Some backup software will purge data after a length of time; some as few as just 30 days after the original file has been deleted.
With background information out of the way, let’s start protecting your precious data!

The main focus is going to be protecting your digital photography work, but I will address overall data protection as well.
Step 1 – Select your backup software
There is a TON of backup software options on the market. If you Google it, you can easily get overwhelmed.
Some backup software can only backup to a local drive. For Mac users, Time Machine is a really cool backup application for local back-ups, but it doesn’t support also sending the backups to the cloud for an off-site copy. There are literally hundreds of backup apps for Windows local backups.
I personally wanted software that could do both local and off-site backups instead of using two different solutions. I’ll address multiple backup destinations in Step 2. For now, let’s talk software.

Backup Software Suggestion
After researching and testing multiple backup products, my recommendation is CrashPlan.
*I have no affiliation with CrashPlan or any of the other products listed in this post.
If you want to start out just creating local backups, CrashPlan is free! It will do daily backups to a local drive and it has a cool “off-site” capability as well.
If you have a friend or family member also running CrashPlan you can set up a location to backup to each other’s computers. They are encrypted and password protected, so only you can get to your data.
You can upgrade to the full version of CrashPlan for $60/year. This adds:
- Unlimited backup to the CrashPlan Cloud, including data on external drives, for one computer
- Continuous backup protection — backing up files as often as every minute, whenever there is new or changed data
- Ability to create multiple backup “jobs” — my local backup is in one single job, but I separate my cloud backups: one for photos, another for general documents, and another for music
Note for Mac users: Time Machine is great for local if you want to stick with it. CrashPlan can work alongside it for cloud backups. Read more here.
Other software options
My goal was to find backup software for both local and cloud. Here are reasons I didn’t choose a few other leading cloud backup solutions:
- iDrive — Allows local backup, but you have to purchase their device. Cloud service is $52 for first year, $70/year afterwards, for up to 1TB.
- Carbonite — Backups up to their cloud, but doesn’t offer local backup. $60/yr will only backup internal drives on your computer. $100/yr if you want it to also backup data on external drives. It will also delete the backup copy of any files you delete after 30 days, so you if accidentally delete something, you better hope you figure it out quickly.
- Mozy — $66/yr only gets you 50GB of space. Every additional 20GB is $2/month! If you had 200GB of data (and I have much more) that would run over $250/yr.

Step 2 – Select your backup destination(s)
A good backup approach is 3-2-1. You should keep at least:
- Three (3) copies of your data — Original and 2 backups
- On two (2) different media, such as a local drive and then the cloud
- With one (1) being off-site
Local backups are important for fast recovery. My first backup of photos took six hours to transfer to a local drive and ten days to the cloud. Reversed, if I need to recover data because of loss, I want it done in hours and not days.
Off-site backups are important because site disasters do happen. Fire, flood, tornadoes and even theft can cause you to lose both your computer and local backup. Ransom-ware can also “lock” your local backup files!
Having both is important because things can happen to your backups. As I mentioned, my local backup drive recently failed. A couple years ago I missed renewing my cloud backup subscription after my credit card number changed and the warning emails went to Spam.
In both cases, while my original data was okay, I would not have been able to recover old or deleted versions of data if I hadn’t had the second backup location.

Local Destination Suggestion
For local backups, you should have an external (USB or NAS) hard drive. There are a ton of options out there. I have had good success with Western Digital, Maxtor, and Seagate. If your computer has USB 3.0 ports, make sure to get a drive that supports it. Your backups and recoveries will be much faster.
Since CrashPlan and other backup software can keep previous versions of active and even deleted files for a long time, or even forever, make sure you buy a large enough drive.
I would recommend at least two times larger than the amount of data you plan to be backing up, not only for now, but how big you expect to grow in the next few years. The good news is external hard drives have significantly dropped in price. There are 4TB drives for only $120. That’s only 3¢/GB!
Many years ago, CDs/DVDs were used by many to create backups. The issue with those is the time and process necessary to manage them. You’re not really going to backup to an optical disk on a daily or weekly basis while working on your files.
With hard drives dropping significantly in price and cloud backups now available, I don’t recommend using CD/DVD for your primary backup. They are still a good potential fit for archive, especially for photos, which I will address in a future article on archive.
A more advanced local solution
Since your backup hard drive will eventually fail, I recommend considering a device that mirrors data between two drives.
If one fails, you still have all your data, and when you replace the failed drive, it will re-mirror the data to the new. For techies, this mirroring is called RAID 1.
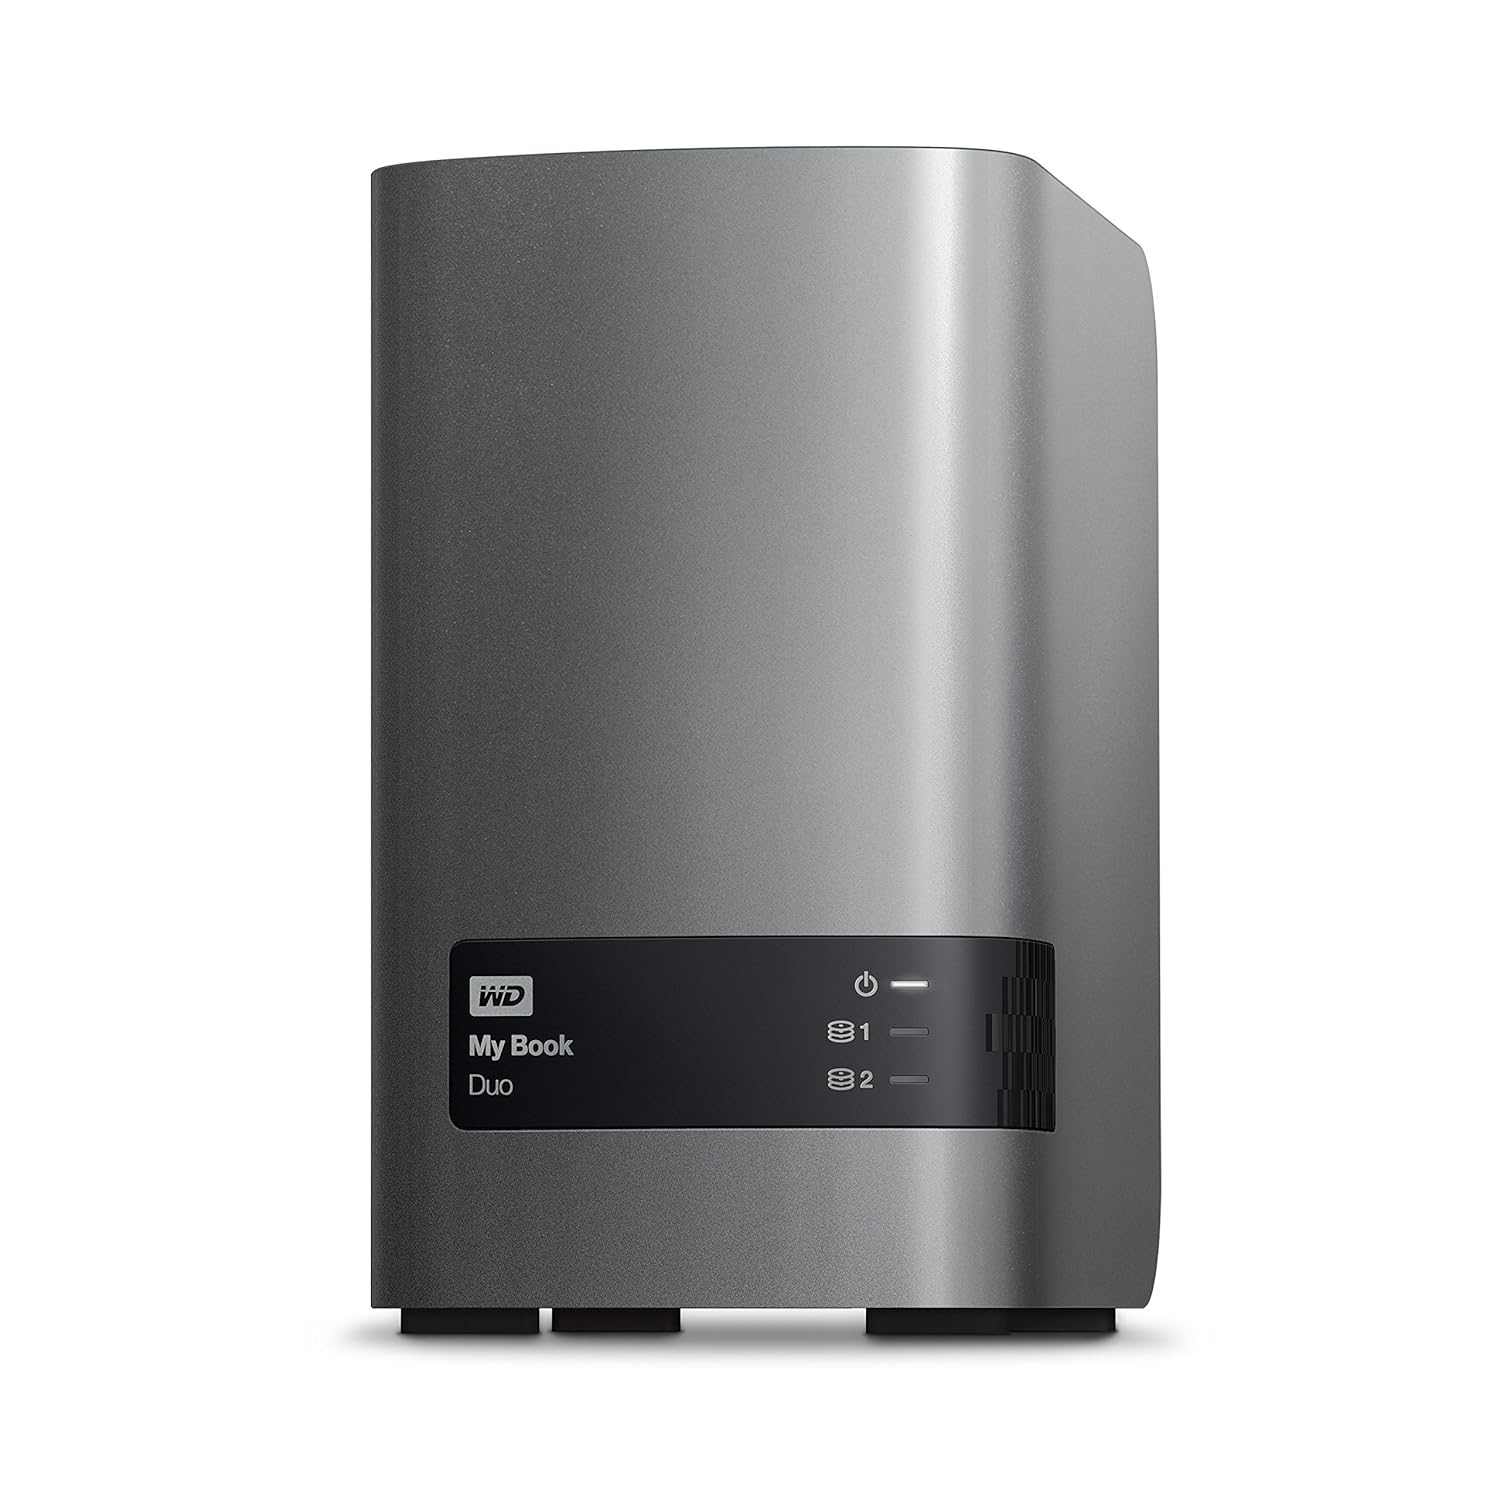
I now use the Western Digital My Book Duo (Amazon/B&H Photo). They come in different sizes, but the capacity listed is actually both drives if used without mirroring.
I bought the “6TB”version. However, after turning on RAID 1, it is actually 3TB usable. The documentation for turning on RAID 1 was very clear and easy to follow.
Off-site Destination Suggestion
For off-site backups, the easiest way to do this is with a cloud-integrated backup solution like CrashPlan. There are others that also work perfectly well, I just preferred CrashPlan for reasons already listed.
Your cloud-based off-site destination may be determined by what your backup software supports, which is why deciding on the software was Step 1.
There are also “cloud storage” solutions out there like Microsoft OneDrive or Dropbox. The issue with those are that they normally do not maintain previous versions of your files like backup software does.
If you copy over your latest catalog file, it will write that over the original. There are ways to use backup software with general cloud storage, but it is normally more complicated and if you are new to backup, you are better off using backup software that includes an integrated cloud offering.

Next Steps
It’s time to choose what software (potentially with Cloud integration) you want to use and go buy an external hard drive for your local back-ups. The upcoming parts will cover:
- Backing up your photos and general documents
- Protecting specific applications such as Lightroom and Photoshop
- How to create a backup of your entire Operating System and programs
Click here to continue with Part 2


I use CrashPlan, too, but it is vital to know that it will not serve as an indefinite archive. I had devices that had uploaded to CrashPlan which I stopped using, but kept around. After six months without update, CrashPlan deleted that storage. They did send a number of warning emails, but I had thought it would serve as an archive. It does not.
Very helpful article. Well written, specific, and easy to follow. Thank you.
Yep, as soon as you stop paying for your Crashplan bill they will delete your information. It is a great service so long as you continue paying for your storage space.
Unfortunately you learned first hand part of the point I was making in item #2 under Backup vs. Archive. A backup should never be used as an archive. They are two different things.
But, so this doesn’t bite you again, there is a setting in Crashplan where you can set it to NEVER delete files that have been deleted off your computer. I’ll show where that is in Part 2 of this article which will be posted soon. Of course, as Mike just mentioned, if your subscription lapses then you’ll lose everything no matter what. But if you keep it up, you would not lose the backups. (Note: Unless by “device you don’t use” you mean an old computer… if you formally remove a computer from your Crashplan account, all of it’s backups are immediately deleted. However, it does warn you of that fact very strongly. I think you actually have to type the words “Delete Date” to finalize it.)
With what frequency will you post the other parts of this series?
Hi Max, Ryan is working on part 2 right now! Should be out in a week or two.
Max – Part 2 has now been posted!
iDrive does NOT require that you purchase their device to make local backups. You can use any device that you want. They will also send you (at no additional charge) an external hard drive to use to make the first backup to the cloud. You backup to the special drive and send it back to them and they upload it to your cloud account. Makes getting the first copy to the cloud much faster.