What is Split Toning?
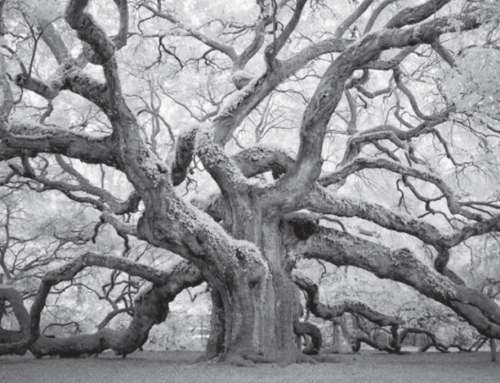
Split toning is the process of adding different colors to the shadows and the highlights of an image. In the days of film, this was done in the chemical printing process. For instance, Ansel Adams used selenium to intensify and give a slight purple in the deep blacks.
Toning could also be added during the printing process. As an example, duotone processing; where the images are printed with a dark base color and then a lighter second color to fill in.
Now all of this sounds pretty technical and laborious to get ‘right’, and it was. Mixing chemicals and then trying them out on a batch of prints is a slow and expensive way to learn.
Fortunately, we now live in the digital age and thanks to programs such as Lightroom, we can experiment to our hearts’ content. With the confidence of knowing that any blunder can be reversed in a keystroke, the possibilities are endless.
How do I do it?
Split toning in Lightroom is really easy. Go to the split toning section on the right in Develop mode and open. Click inside the highlights box and move the cursor around until you get the color you want.
Then do the same in the shadows box. That’s it.
When do I use it? What colors do I choose?
Knowing how to do it is the easy bit. Knowing when to use it is harder. Ultimately, the answer is ‘whenever you feel that your image will be enhanced by it’. This is where your creative side kicks in.
It’s all about being adventurous and playing about until you get something that pleases you. Lightroom preset collections e.g. the Hacking Photography monthly presets often have presets with split tones included and these can be used as a starting point.
Let’s take a look at a few examples (with the toning panel for reference) and hopefully these will give you the confidence to experiment for yourself.
WWII Sepia
Sepia tone was a type of monochrome image in which the picture appears in shades of brown, as opposed to greyscale. The chemicals used helped photos survive longer and it’s an effect that screams heritage. The adjusted shot of a WWII fighter plane looks fine in color but I wanted more of a vintage effect.
Before Split Toning Application
After Split Toning Application

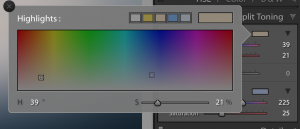
Screen capture of split toning applied
Guincho Blue
This photo featured on Month 10 of the Hacking Photography Monthly Edit course, but this is my version. The weather was miserable, yet, it’s such a wonderful beach and I wanted to get ’something’ from the day.
Graduated filters helped to produce more definition in the sky and sea, but the sea still looks grey and uninviting. Experimenting with the colors in highlights and shadows produced a much more interesting image than I first thought possible.
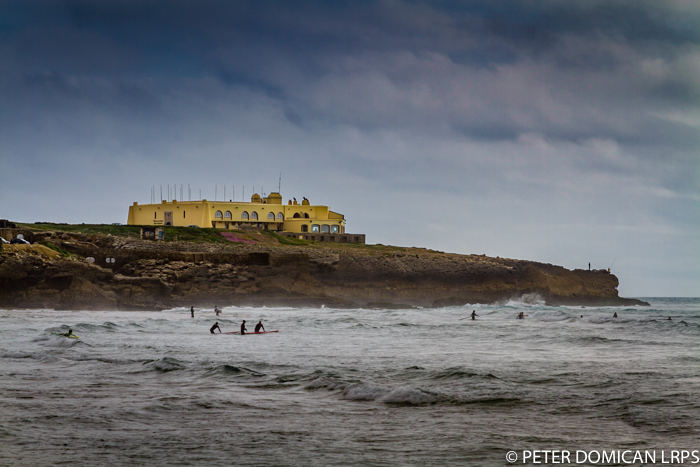
Before Split Toning Application
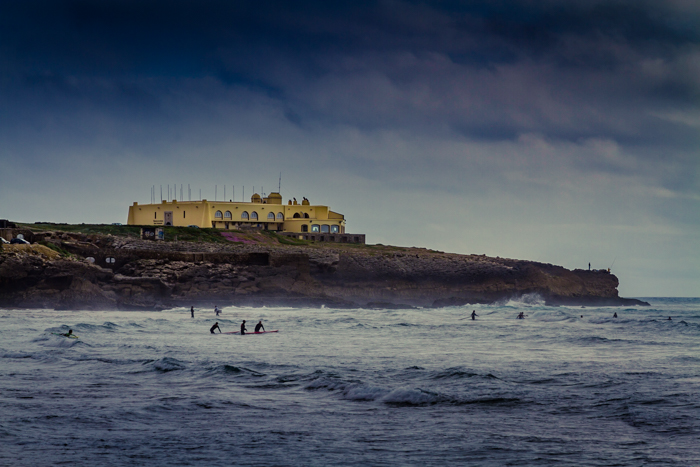
After Split Toning Application
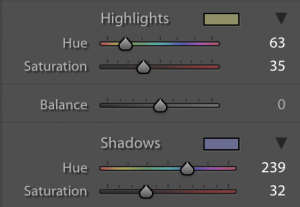
Screen capture of split toning applied
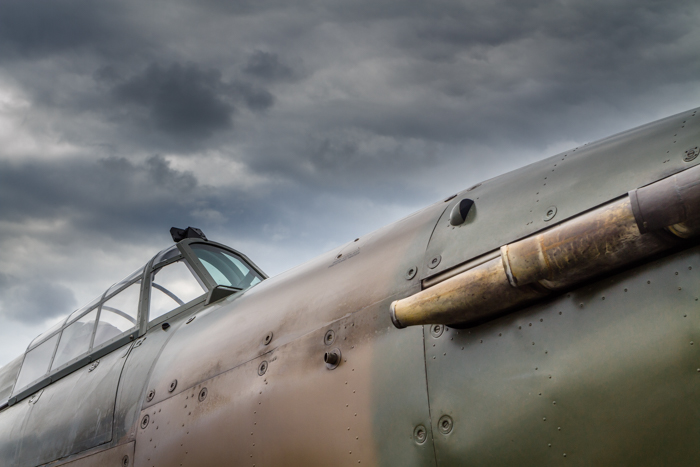
Top Gun Yellow
I love these planes, but it’s the English summer so the weather wasn’t being very helpful; the sky at that point was a pretty solid grey.
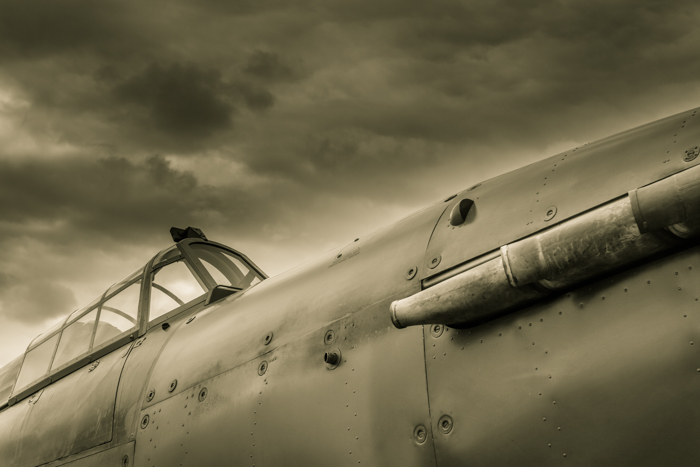
Playing around with the exposure, white balance, and tint gets to a slightly better (but not great) yellow grey color. However, adding split toning puts some real warmth into the scene, and the addition of a sun flare using a radial filter creates more drama.
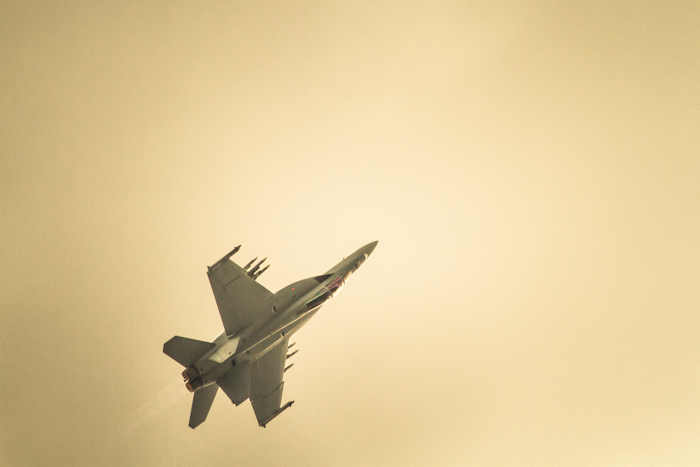
Before split toning applied
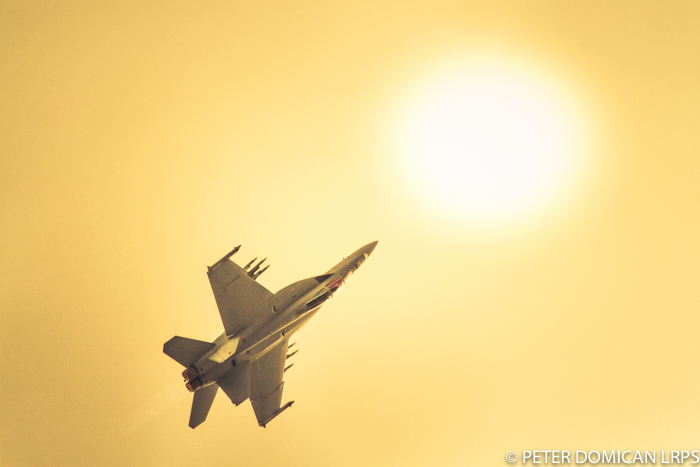
After split toning applied
Screen capture of split toning applied
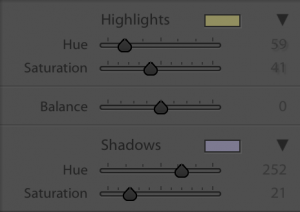
F35 Blue
This was the very first public display of the new F35 fighter aircraft in the UK so I really wanted something special. I was pretty pleased with the adjusted image of the plane in hover mode, but decided to see if split toning would add anything to it.
After going through some more extreme versions, I pared it back to a subtle injection of blue into the shadows. This approach just seems to lift the image over the previous version.
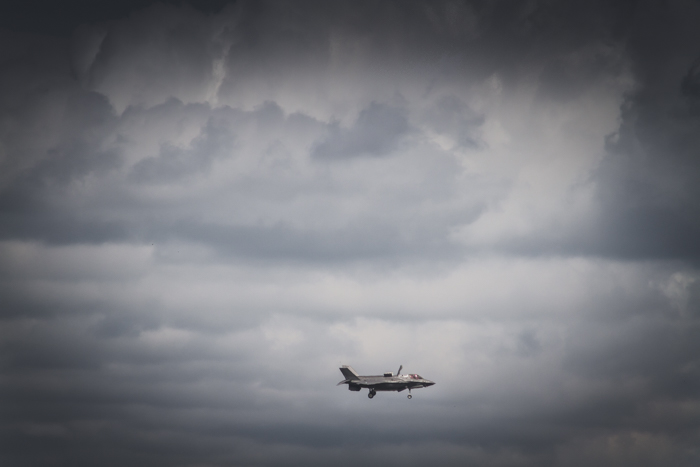
Before split toning applied
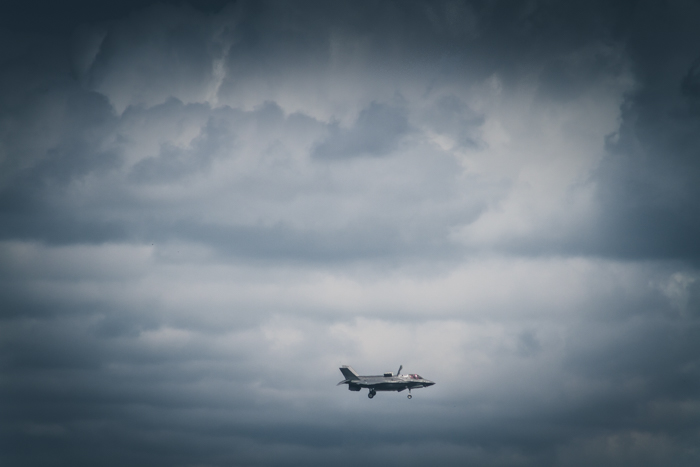
After split toning applied
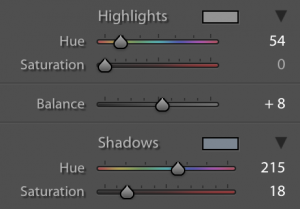
Screen capture of split toning applied
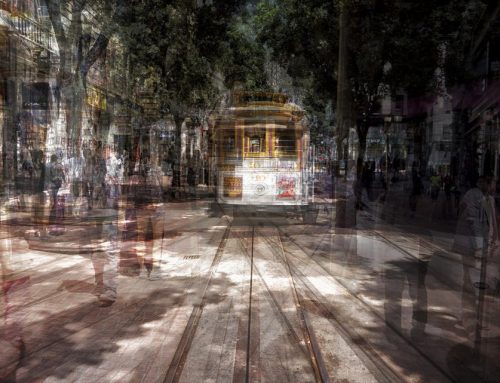
Tejo Pinks
This is the Tagus river in Lisbon, my favorite city for photography. If there are clouds in the sky, the waterfront is always an interesting place to be at sunset. It’s a good image to start with, but for me, it’s just lacking a certain ‘something’.
So it’s time to just move the cursor around in the shadows box until something starts to happen, then move onto the highlights. On this type of image, it entirely boils down to personal preference and taste, but I really like the extra color in this.
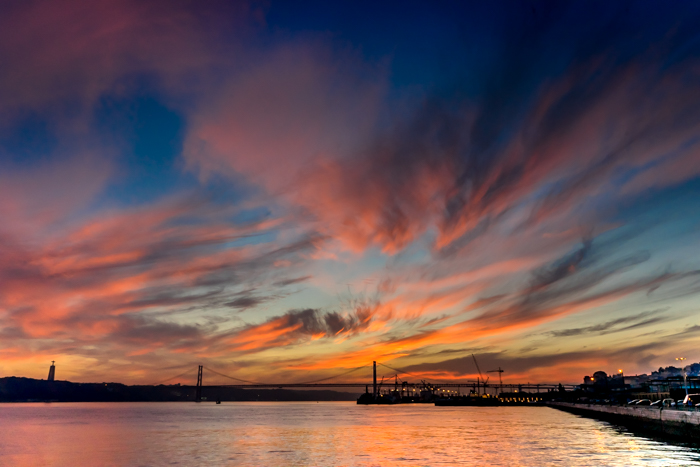
Before split toning applied
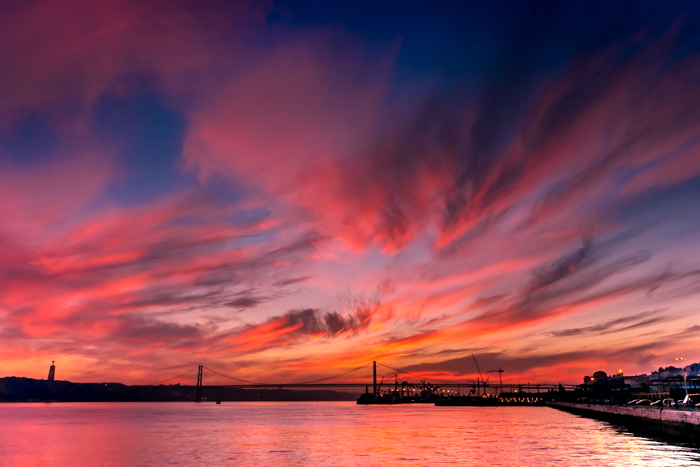
After split toning applied
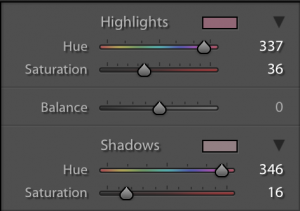
Screen capture of split toning applied
Now It’s Your Turn
There are lots of effects that we haven’t covered in this article e.g. cyanotype, old film types, etc. Hopefully this has whetted your appetite to give split toning a try.
It’s not needed in every photo, but along with the tone curve, split toning is the tool that can really differentiate your photos from everyone else’s. Have fun experimenting and let me know how you get on.
In this article, photographer Peter Domican LRPS talks about split toning in Lightroom, how to do it, why it’s so good, and how it can take your photography that extra mile.
A good article Pete; a simple explanation that stops it seeming like an impossible concept to get to grips with.
Thanks for opening up a new tool for me after all these years using Lightroom. Didn’t know what that was used for. Now I do.
Thanks. The great thing about Lightroom is that you can always take a step back to where you were if you don’t like the result.
Glad to hear. It’s definitely worth knowing about!
WOW,never used this before,just amazing tips,thanks so much.