Since Lightroom 6 and Lightroom Creative Cloud came out with the ability to do HDR images I’ve had a lot of fun working with some of my older HDR sets.
With this new excitement I decided to create an HDR Lightroom tutorial so you can see how I go about creating and then editing HDR images inside Lightroom.
What HDR actually does
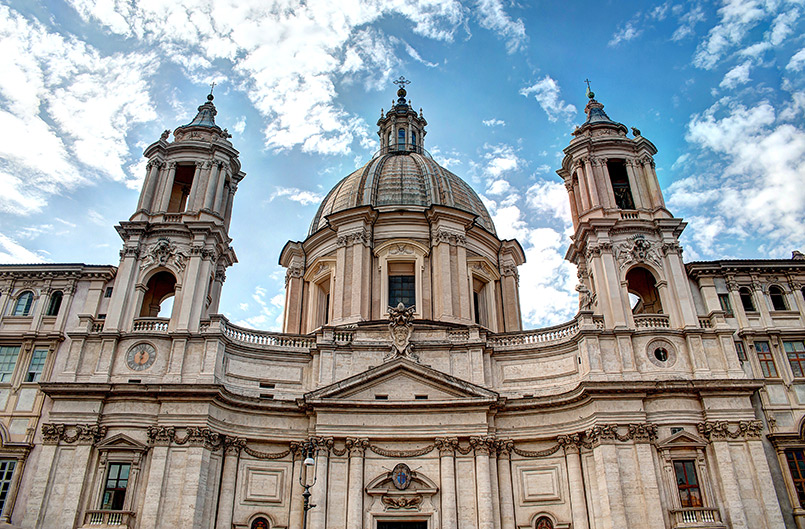
High Dynamic Range (HDR) essentially means that we are capturing the full range of light in an image. Even the best camera sensors currently on the market can only capture a portion of the available range from the brightest highlights to the darkest shadows.
Lets say you have an image with a TON of contrast – like outside at noon on a sunny day. The sun is near its brightest, so the highlights in an image are going to be very bright, and the shadows are going to be almost black in their darkness.
This spells trouble for camera sensors, because you have to choose whether to expose for the highlights or to expose for the shadows. Wouldn’t you prefer to capture both?
How to capture an HDR image
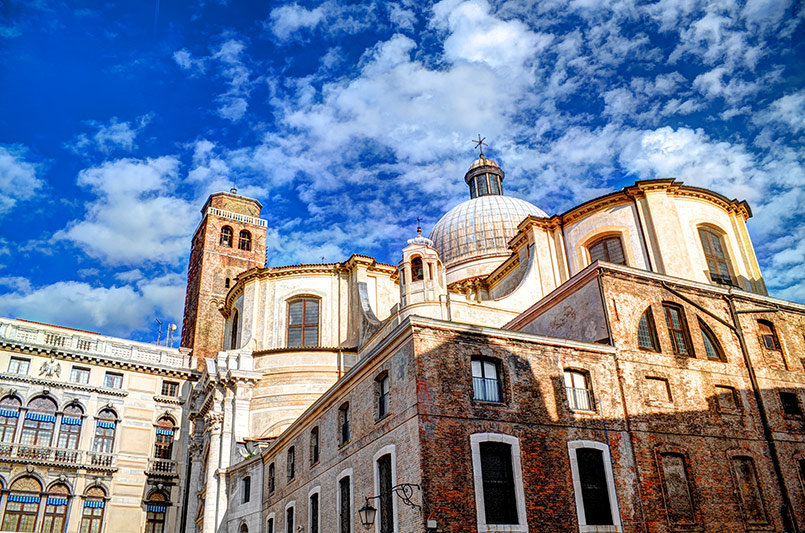
Lets get started with this Lightroom tutorial! In order to capture the full dynamic range of light you will need to shoot a series of images, exposing from the darkest parts to the brightest.
Bracketing for HDR
Many cameras have a function called ‘bracketing’ which lets you decide the spacing between each shot (1/2 stop, 1 stop, 2 stops, etc.) and how many total (3, 5, 7, 9 shots).
If possible, use a tripod
Once selected, you will want to keep your camera as still as possible, preferably on a tripod so the images will ‘line up’ with each other when we process them. As you click the shutter it will shoot each image with the correct range for you, instead of having to manually choose each stop level. This will keep you from moving/shaking the camera while capturing the images.
For best results I like to shoot between 5-7 shots as that gives you more data to work with.
Processing and editing the HDR image
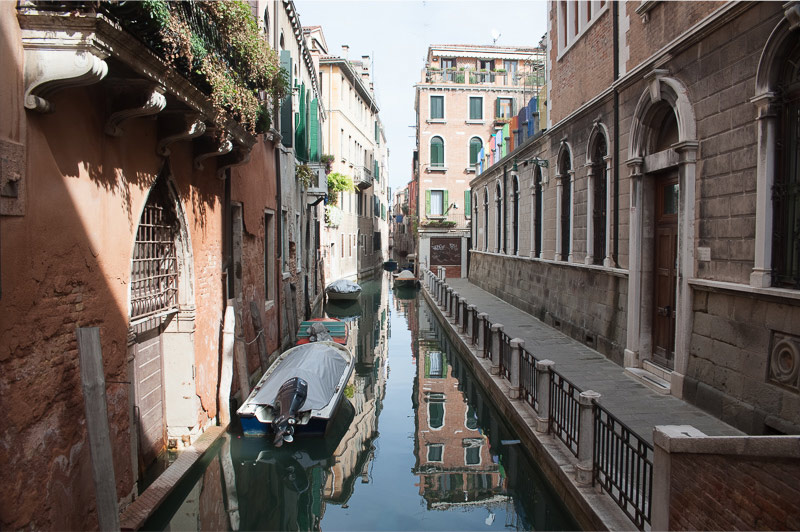
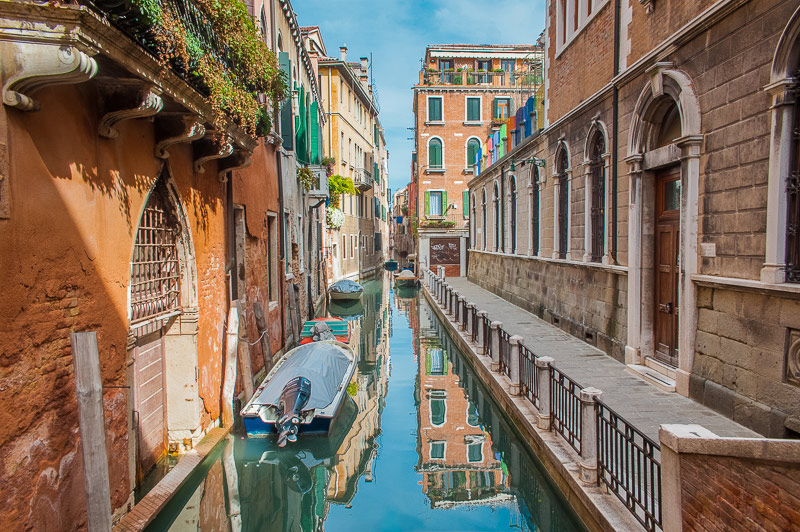
I’ve created a full heavy-duty video showing you exactly how I pulled in the unedited RAW images and, using the HDR feature in Lightroom 6 and Lightroom Creative Cloud, process the HDR image to get this:
Before:
After:
HDR Lightroom Tutorial video:
I hope you’ve enjoyed this tutorial! Entire books have been written about HDR while this was intended to give you a base understanding on how to create and edit them.
Other ways to process HDR images
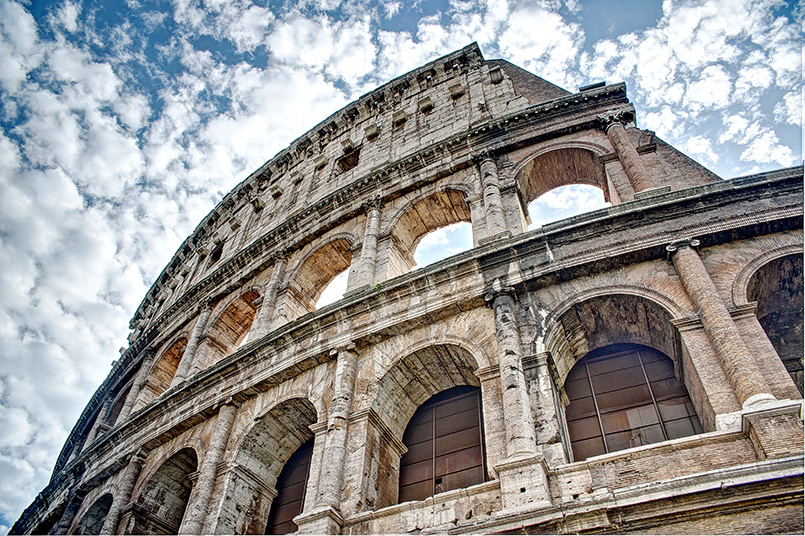
There are a ton of other ways to process HDR images. Photoshop CS6/Creative Cloud offers in-app HDR processing, while other companies like Photomatix have software with far more options to fine tune HDR images that also plug into Lightroom.
If you are interested in trying out Photomatix you can get a free trial on their site here. Keep in mind that the free trial version will watermark the images with the HDR Soft/Photomatix logo but you can still try it out.
If you liked the video – consider joining the Monthly Edit Membership!
The entire idea behind the Monthly Edit Membership was to create something that I hadn’t found on the web to help you learn how to become excellent in Lightroom with every type of image.
Landscape, portrait, fashion, products, architecture, and other styles of photos all require different skill sets and even different uses of the same tools! I cover this every month for Monthly Edit subscribers and the reviews have been awesome from members.
Over the course of the year you get 60 Lightroom training videos and 120 brand new, never-before-release Lightroom presets for members only!
Feel free to check out the Monthly Edit Membership site by clicking the image below:
Thanks for tuning in and please leave any questions or thoughts about my HDR Lightroom tutorial in the comments below!


Thanks for your lessons. It is so helpful when you explain what you are doing, and why you are using certain tools. I have watched other videos that seem to explain ……but then I can’t use the information on my photos.
Your lessons not only show WHAT you are doing but you show WHY and HOW to use the lessons.
Thanks so much.
Thanks Myrtle, I’m glad you’ve been enjoying them!
Unfortunately the over HDRed images look fake.
Thanks for your comment Peter. I think these ‘toe the line’ (except the Venice one – that one is admittedly painterly-ish).
Yep, the Venice one is definitely “painterly-ish” and somewhat detracts from the excellent lesson on HDR. Maybe it would be useful to have a lesson on toning down an HDR image once it’s made? It’s a real joy to be able to start editing on an image with a full range of dynamics, like the Venice on, isn’t it?
Thanks for your lessons. Very straightforward and useful.
Hi John,
Thanks for your input. I think that would be a great blog post idea! It really is a very fine line between looking good and going too far :)