We see images of beautiful and stunning food photography everyday and everywhere but we rarely look deeper into what makes it so appealing. For Christmas I actually got a book on food styling and food photography tips which opened my eyes to some pretty simple tips that make or break you culinary photography shots. I’ve listed the 5 best food photography tips you can use to make peoples mouth water below.
Food Photography Tip #1 – Light your food dish from the back or side
using a flash or light from the front will mute the shadows and texture of most dishes. If you light it from behind or side it will create more texture, highlight the moistness or any specular highlights.
Try to use a very big light source, either a flash in a softbox or a big window with diffused indirect light.
Food Photography Tip #2 – Make it pretty
Take some time to rearrange the food to be pleasing to the eye. Sometimes we get so focused the main course that we forget to style the food to look incredible.
- Make sure there aren’t displaced crumbs – this is the biggest offender!
- If shooting with cold or warm dishes – try to photograph them right away before they melt or cool.
- Look to see if the food is stacked in a way that is attractive to the eye.
- Think about how great realtors will stage a house to look incredible. You want to stage your food.
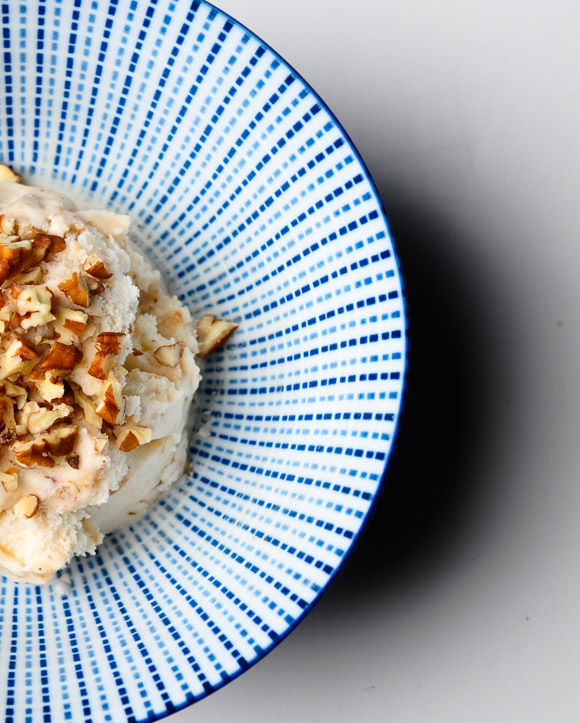
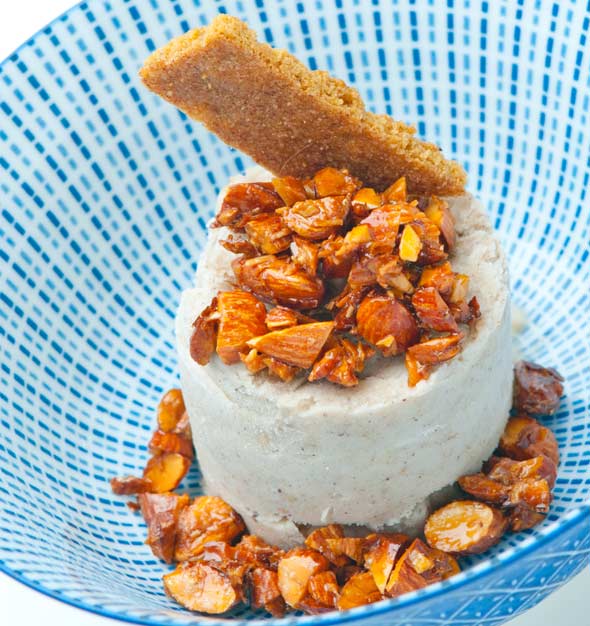
- Add a garnish. My wife has been on a super home made ice cream kick lately (thus the inspiration for the food photography post). She not only arranged for this banana coconut sorbet to be arranged in a vertical cylinder, but then she caramelized almonds with honey, added them to the top and side, then topped it off with a cinnamon graham cracker. DETAILS DETAILS DETAILS!!!
Food Photography Tip #3- Add interest to the background
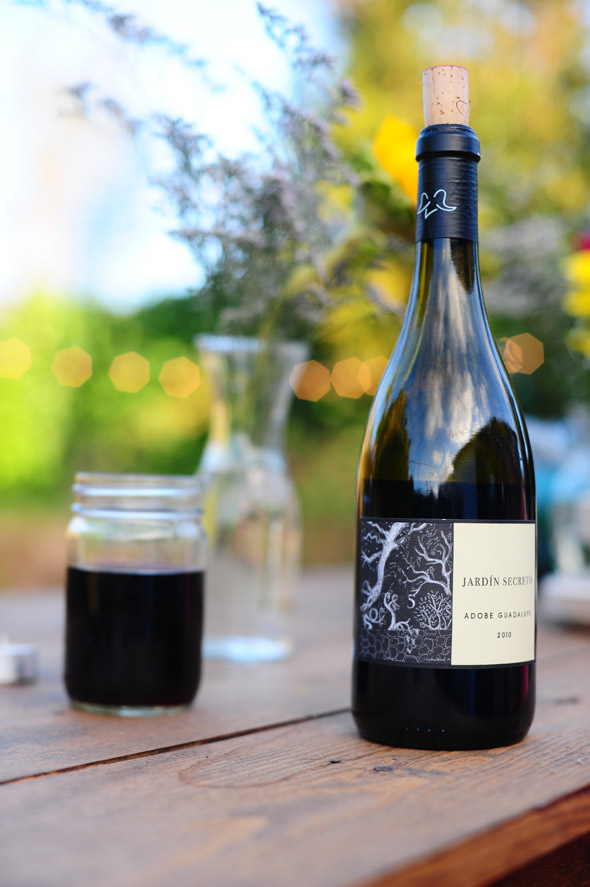
The dish will be the center-stage, but the background creates the ambiance. What kind of mood are you trying to set? Is it a romatic dinner scene with a wine glass and white table cloth? Is it a summer picnic with sandwiches on a blanket with a wicker basket in the background? Is the sole focus the dish and it’s shot on an endless white background? If you put a little time into selecting the details it will absolutely make your image 100% better. Use the background to tell a story.
Food Photography Tip #4 – Shoot from interesting angles
this is a very useful tip in any type of photography, but especially true when shooting food dishes. There is nothing more boring that shooting food at the same angle everyone sees it at when looking down at their plate. Shoot from a low angle, or even straight from the top. Don’t be shy to tilt the camera just a bit to give it some more visual interest. One of my favorite examples of this was a photo feature Grub Street did on the top cocktails in New York. The photos were shot from a birds eye view that made then very unusual and visually striking. Check out the slide show here from the online magazine.
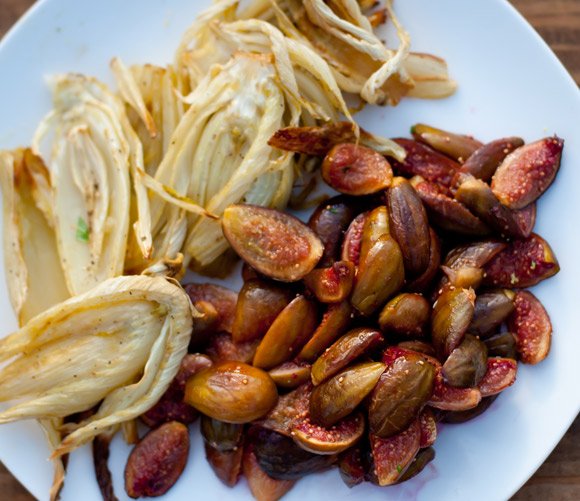
Food Photography Tip #5- GET CLOSER!!!
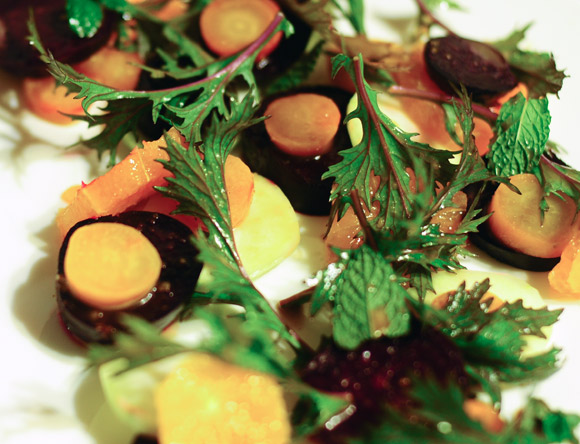
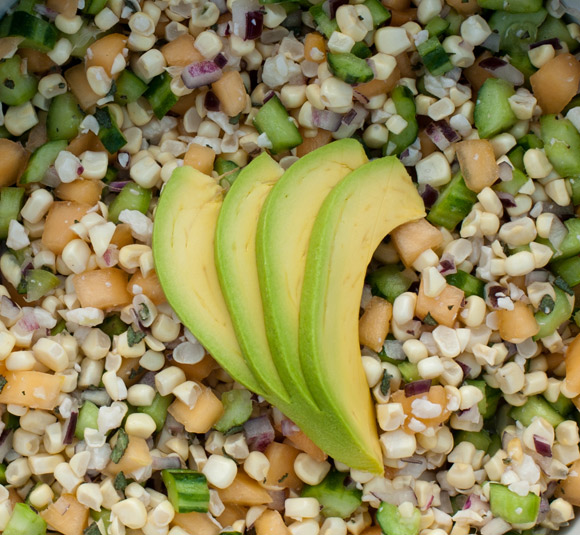
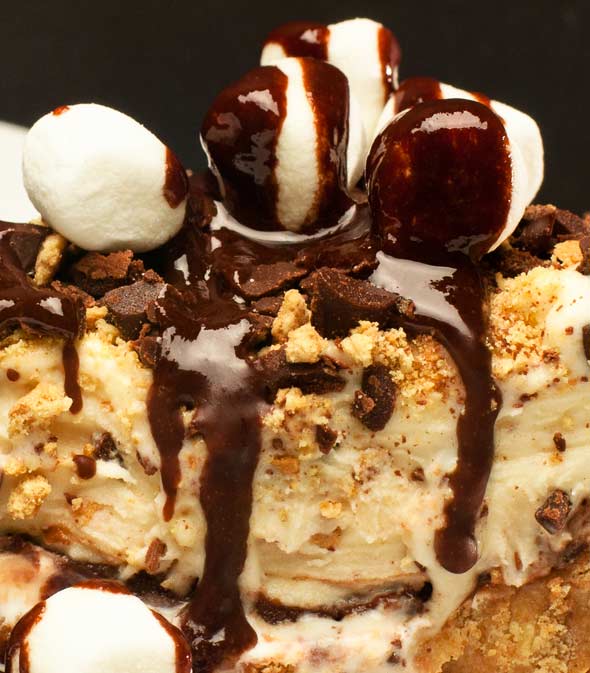
You don’t need to get the entire dish in the frame. Sometimes the best photos are super close up details shots. Show the viewer the flaky-ness of that delicious pie crust, detail the dripping BBQsSauce, and smoke coming off those steaks, or make their mouth water with the toasted coconut flake and mango garnish to the lime and coconut icecream (totally homemade by my wife- holy hell):
Assignment:
Now that you have 5 simple food photography tips you can use, tonight your assignment is to shoot at least 5 different photographs of the same food item using each tip above. The goal here is to create very different looking images from the same food images.
Helpful tools:
Have you seen the Hacking Photography ebook set? I created this to teach the easiest way to learn photography fast, with 10 homework assignments and shooting lessons for all the major concepts you’ll need to learn.
Click here to learn more about the Hacking Photography eBook Collection.


So in tip 1, you say no crumbs but in tip 4, there are crumbs everywhere. Can you clarify what you mean?
Hi Vivian, thanks for the comment. “Do what I say, not what I do!” Just kidding. Yes, you should aim to keep crumbs and other distractions off your plates just like a good chef wipes down their plates before serving. That said, its not always possible. I had a line of hungry party goers behind me in when I was taking that photo on the wooden bench and wasn’t given the time to clear it off. I could have gone in and done it in photoshop but it was just a quick snap at a party. If it was for a publication or portfolio shot I would have taken the extra time. This is given as a basic guideline but are certainly not the hard rule- thats why I love photography. For example, this post shows the excellent food photography of Ania Wawrzkowicz who has made a name from messy arrangements: http://www.trendhunter.com/trends/ania-wawrzkowicz. For the purposes of teaching newer photographers its typically best to get them to take the time to fully pay attention to the overall image details. Hope this helps!