I’m excited to share a few flower photography tips that will quickly and easily improve your flower photography!
Introduction
Flowers. They are almost every photographer’s favorite thing to photograph in the spring.
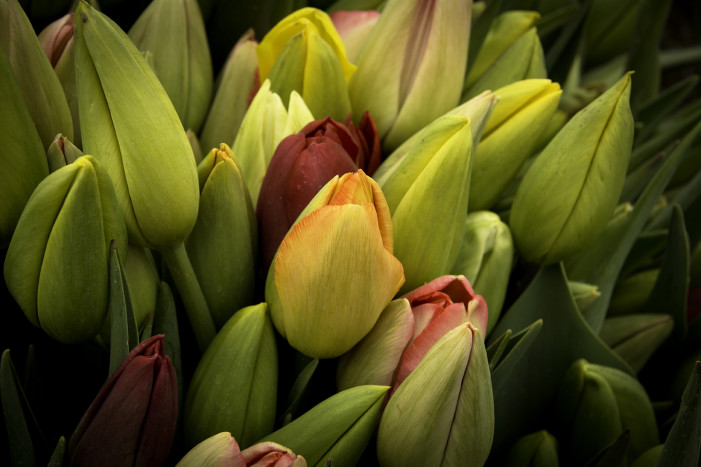
Let’s face it, who doesn’t love a good macro shot of blooming tulips, rose petals, or cherry blossoms? It signifies new life and it also means the end of a long winter (or short one depending on your locale).
Spring is usually heralded by rain showers, billowy clouds, and lots of morning dew. I am a complete nut for dew and/or raindrops on spring flowers.
In this post I’m going to share 8 quick flower photography tips with you so you can get out this weekend and create some excellent shots.
A few simple flower photography tips
While the sunshine is often welcome in the spring, there are a couple of tips to get that perfectly lighted spring flower without the use of a flash.
1. The best time for striking flower photography
Flowers are not generally considered “landscape” photographs, they are more macro shots than wide angle shots. However, your most important “rule” of perfect lighting for landscape photographs actually applies to your flower macros: sunrise and sunset lighting is the best along with the golden hour/blue hours of the day.
2. Get out there shortly before sunrise
I have also found that between the end of March through the end of May, the two hours after sunrise can also provide great lighting without washing out the color of the flowers.
3. Try using some shade in mid-day light
Should you find yourself out in the middle of the day with the harsh sun glaring down on your prize flower, try to shade it a little.
Use an umbrella or your body, just make sure you don’t shoot the flower in full sun. The colors will be washed out and you won’t get the right “mood” or “feel” that you are going for. Full daylight sun is a harsh mistress. Keep that in mind.
Pro Flower photography tips
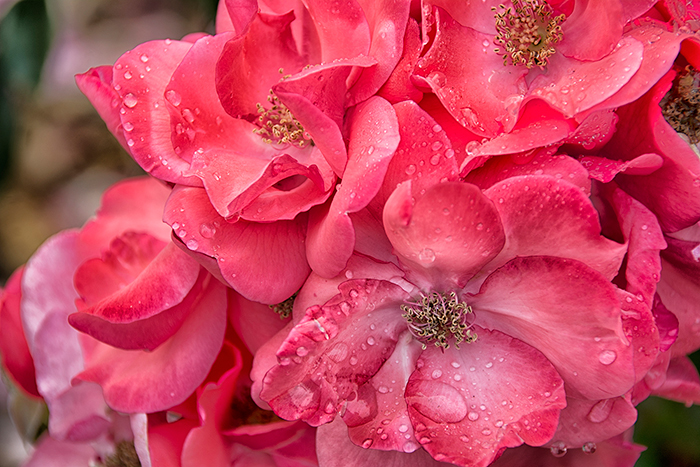
4. Use dew/raindrops to enhance the photo
Now let’s play. Half the fun of flower macros is the dew/raindrops.
The trick is to make sure that you are not shooting directly on the flower, angle the camera slightly away from it so that the dew/raindrops glisten but don’t glare.
5. Use live-view (or video mode) to review the photo as you shoot it
Make sure you use a tripod and utilize the live view mode if you have one (this will bring up the live view on your LCD if you have one). For those of you with mirrorless cameras, you will be able to see this just by looking through the LCD viewfinder.
If you do not have the capability of a live view mode on your camera and you do have video, use the video mode. Zoom in as tight as possible on the live view mode (or video mode) so that you can manually adjust the focus on your flower.
This will also show any glare being given off by the sun hitting the water on the flower. If there is a glare, move the camera and shoot the flower at an angle. Like below:
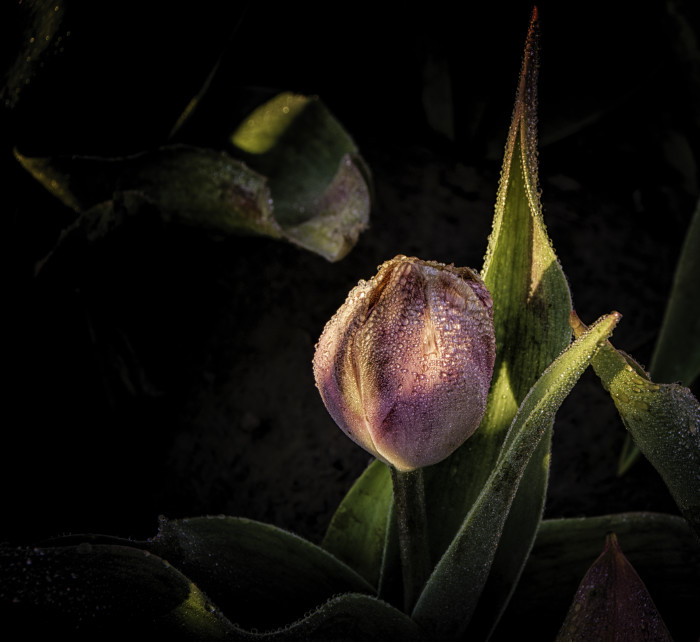
6. Time the light right to create more structure and drama
Now, if the sun is just rising, it still nice and warm. The color it is giving off is not harsh nor will it wash out the colors of your flower. This shot was taken straight on just as the sun peaked over the mountain.
You can see that the sun hadn’t quite reached the top of the tulip yet. It was still low on the horizon. I utilized this time to capture the lighter colors and water droplets on the lower part of the tulip. By doing this, you add a little more drama to your flower.

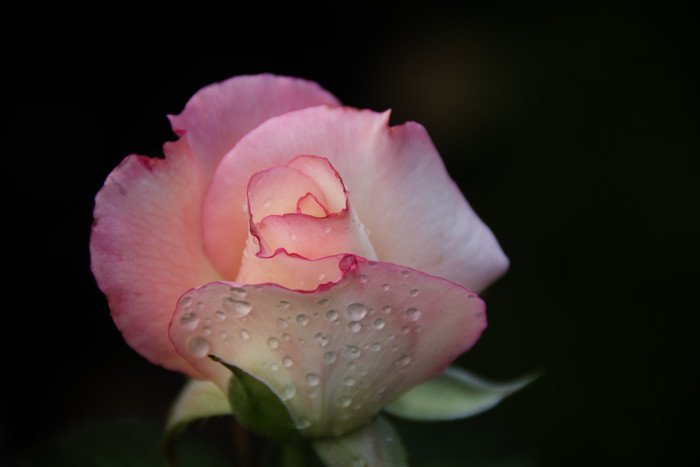
7. Use what is around you to diffuse the light and throw out the background
The below picture of the rose was taken about 3 hours after the sun had risen in late May. However, I had the added shield of trees that provided a filter-like effect for this shot. The later morning sun, even though shaded, provided enough glow for the rose.
I was able to achieve a straight on shot, while blacking out the background around it. In order to achieve this effect, I zoomed in my lens as far as I could on top of it (I do not use a dedicated macro lens; my lens is a Sigma 18-200mm), underexposed the shot by 2 stops, used a tripod and utilized my live view mode. We have a rose with water from the sprinklers with a slight glow from the sun’s light through the trees.
8. Be inspired by the season!
The last tip, and this is very important so don’t skip over this, go have fun; be inspired by spring. Photography is a craft like painting, drawing, sketching, and other mediums of art.
It takes practice. I’m not perfect at it yet, it’s a learning curve. Keep that in mind and go find your spring inspiration!
Written by Amy Combs. Check out here website here: http://alcombsphotography.com/

Thanks for the insight, always like to know how some one approaches setting up a shot
I’m glad you liked the post Rick, Amy did a great job!
Great article, Amy. Looks like I need to get up a bit earlier!