Travel photography is big business for many, and the best kind of therapy for others. There’s just something about hopping on a plane with nothing but your camera bag and the shirt on your back, ready to capture the sights of a new and exotic locale.
The next time you’re looking at airfare or filling up your tank for a road trip, make sure your load out includes these critical travel photography gear items:
1. Your camera body
This is a no-brainer, which is why I’m getting it out of the way. It doesn’t really matter what camera you use, but personally, I prefer something light and easy to carry around for hours on end.
Because you’ll want to post-process your shots later, choose a body that will allow you to record RAW files – JPEG simply doesn’t allow you the same amount of control.
Right now, I shoot with a Sony a6500, which I find gives me a powerful set of tools in a small, lightweight package.
2. A flexible lens
There are SO many lenses out there, and everyone wants “that one lens” that can do it all. I haven’t found it yet, and I’m pretty sure it doesn’t exist.
Of course, it’s your choice to take a bunch of lenses, but this increases the weight of your bag and sucks more when you get robbed in a train station in Rome. With that in mind, when I’m traveling ultralight with very little travel photography gear I carry a zoom lens with a wide focal range.
My favorite is the 18mm to 200mm lens.
This lets me take wide-angle landscapes or ultra-detailed pictures of a weird bird without having to change my lens (and risking getting crud on my sensor – see below).
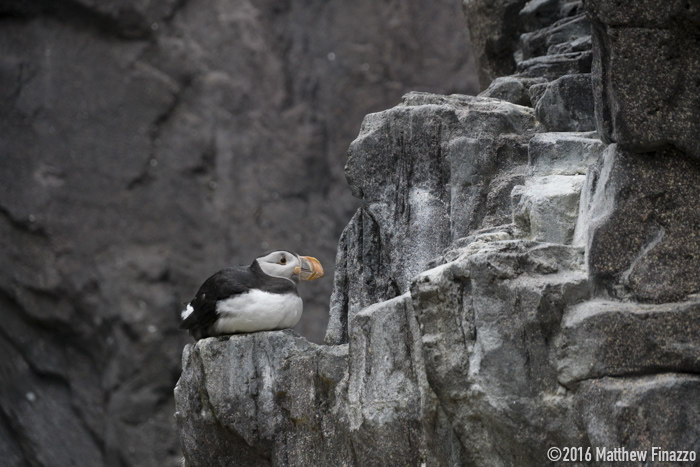
Puffin in Iceland, 200mm.
There are a few tradeoffs: it’s a little chunky, and the aperture is not as “fast” as other lenses (which impacts my ability to shoot in low light).

Waves breaking on coastal rock formations in Vik, Iceland. 178mm.
However, I’ve found that I can take about 90% of the shots I want to take and get them right in-camera.
3. A lens pen, microfiber cloth, and rocket blower
These items are useful for any photographer, but the “holy trinity” of camera cleanliness is essential when you’re out all day and putting your camera through its paces.
Smudges and dust particles are magnified with higher apertures or when facing into the sun, and it’s really easy to get dust on your sensor when swapping lenses in the field.
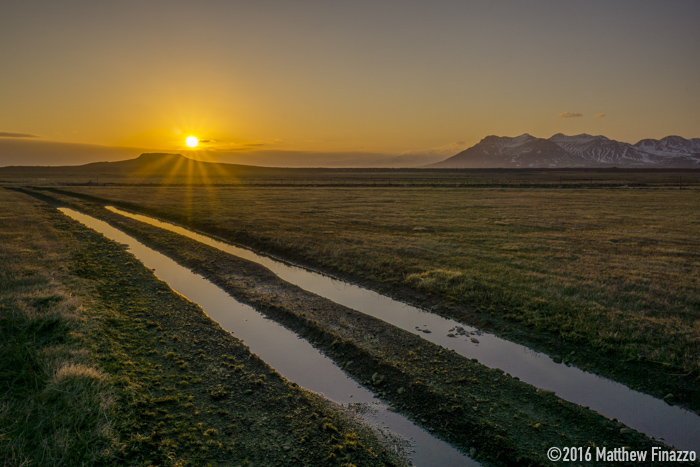
Eldborg volcanic crater (Iceland) at sunset. f/22. I had to remove a LOT of dust spots from this image in post.
Since there usually aren’t camera shops on glacier fields or deserted beaches, a rocket blower is the next best thing when it comes to cleaning your sensor. Remember: NEVER touch your sensor, and resist the temptation to blow on it with your mouth. Small particles of saliva could end up on your sensor as well.
When cleaning lenses, I like to use the brush of the lens pen first, then the microfiber cloth, then the microcarbon tip of the lens pen, in that order. The thought process is to use the least abrasive method first, then progress through your toolkit as needed until the lens is clean.
I found this combination lens pen and rocket blower on Amazon for cheaper than either if bought separately. A bonus of this combo is that it doesn’t have the ‘fins’ that most rocket blowers do which can be helpful when dealing with possibly over-imaginative travel security agents….
4. A waterproof bag
You could be out shooting all day, and you never know what Mother Nature might unleash. Untreated nylon bags are not suitable for wet or damp conditions, so unless you want to spend the rest of your day shooting from inside a coffeehouse, grab something robust like Peak Design’s Everyday Messenger (waxed canvas).
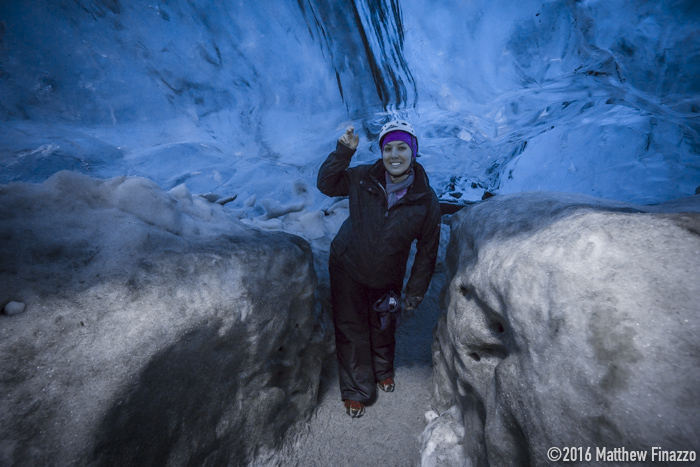
Inside the glacial ice caves of Vatnajökull, Iceland, a water resistant bag is a necessity.
If you’re going truly hardcore, you’ll want a “dry bag” that is COMPLETELY waterproof (if you have any friends who kayak, you’ll have heard of these). The downside of these is that they’re usually more of a pain to get into when you need to grab a piece of gear.
Here is an inexpensive option, and a pro-level pricier one. Inexpensive is better than nothing, but if I’m carrying thousands of dollars worth of gear and will be in situations that are likely to get my gear wet, I’d spend the money on the pricier one to give me peace of mind protecting my valuable stuff.
As for the overall importance of protecting your travel photography gear – nothing is better insurance than a quality bag.
5. Spare batteries
I probably should have put this one higher up – they’re vital! When you’re out shooting, nothing kills your productivity quicker or more decisively than being out of juice.
I always carry at least 3 batteries, and assume that I’ll use one up, the next one will fail, and that I probably forgot to charge the third one.
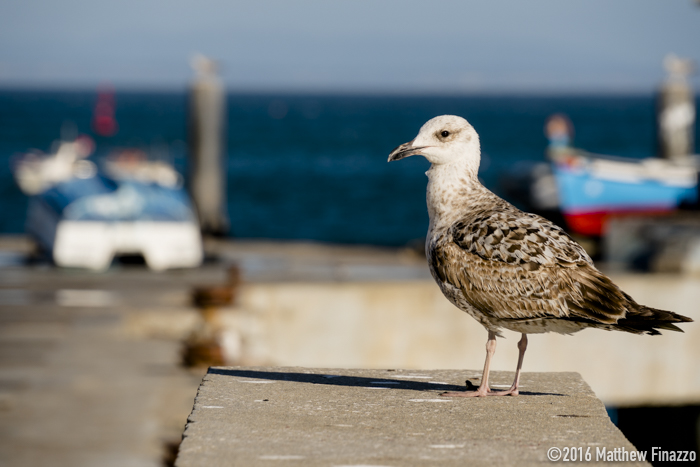
A sea bird alights on a pier in Cascais, Portugal. 200mm.
6. A power brick
A power brick is the perfect accompaniment to your spare batteries; these helpful items are a remote power source that takes up very little space. If you do manage to use one up during a long day of shooting, let it recharge in your bag.
These days, power bricks are so cheap, small, and lightweight that there’s really no reason not to have one. I would say this is one of the cheapest, but most helpful travel photography gear items to have in your bag.
7. Spare memory cards
Card space isn’t much of an issue these days. Even shooting full-size RAW files (which if you aren’t, you should be), you can still fit upwards of 2500 shots on a 64GB SD card.

St. Peter’s Square in Rome, 25mm.
The real reason you want to have at least one spare is in case your card fails. The reasons for failure are many: your card might get too hot, it might fall into a volcano, it might get stolen by a seagull.
The physical flash memory, believe it or not, is also susceptible to wear after extended use and has a finite service life (typically longer than most of us will be alive, but quality control is not insignificant, either).
While you can often shoot with the same card from a reputable brand like SanDisk for years, you’re only one card failure away from missing that perfect shot. That’s why I always carry at least one spare in a waterproof Pelican memory card case.
Bonus: A notable (non-) addition, a tripod
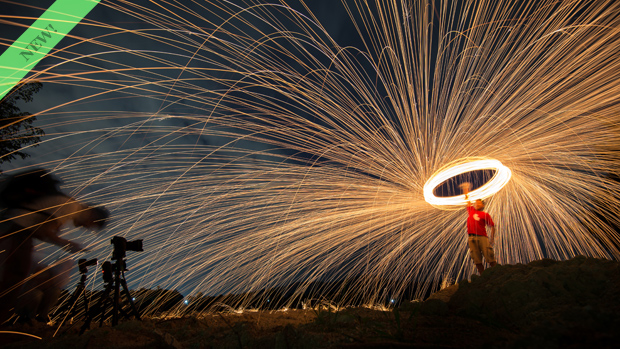
I’m gonna go out on a limb and say this is not essential. Sure, if you’re planning to make money from your travel photography, you should have one. They let you take longer exposures in places where flash might not be permitted or effective (like the inside of a church), and achieve cool effects like light trails.
However, a little creativity goes a long way, and I can usually find a rock, curb, twig, or snoozing iguana to balance my camera on in a pinch (ok, maybe not an iguana).
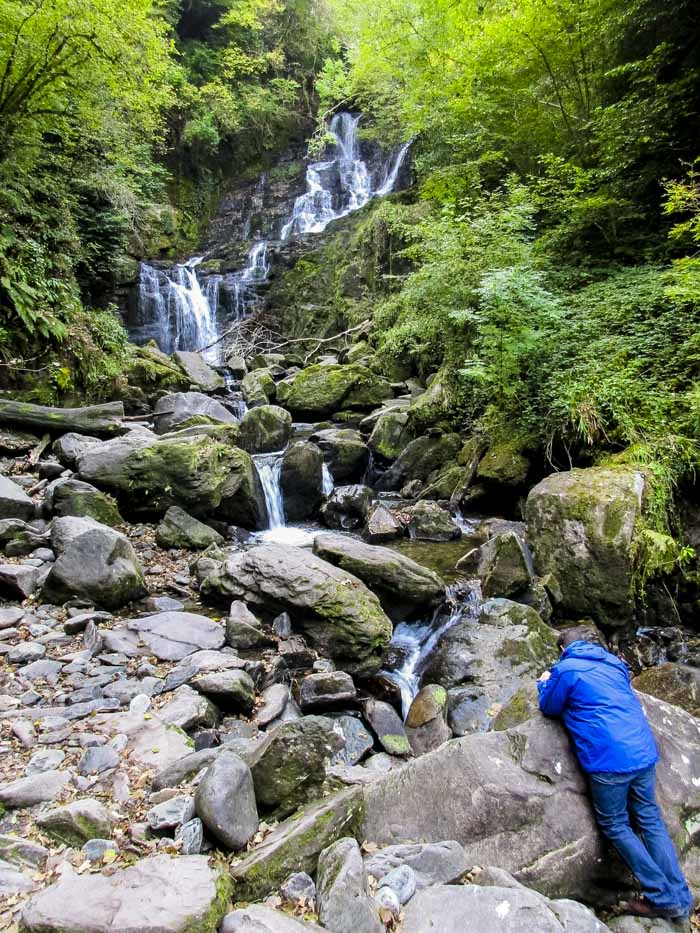
Never underestimate little piles of rocks when steadying your camera.
My reason for not including this is because even the smallest “travel” ones are still fairly chunky, and that has a cumulative effect on your mood and motivation after a full day of trekking. If you absolutely want one, go with something small and flexible like a Joby GorillaPod or a this Manfrotto PIXI.
[Author’s note: Every image on this page (except for the image of me) were taken with a Sony 18-200 E-mount lens. I don’t mean to endorse this lens specifically, but rather, I wanted to demonstrate the latitude you have with such a broad focal range.]
Helpful Resources:
The Photography Ebook by Richard Schneider
My friend Richard Schneider is a world-traveling photographer who shoots incredible landscapes, cityscapes, (in addition to jumping out of planes in a squirrel suit, but that is a story for a different post) and more all over the planet. He recently released what I consider to be one of the best ebook on travel photography I’ve ever read.
His ebook, appropriately called ‘The Photography Tutorial Ebook’, is its own master-class on travel photography. From shooting the tallest buildings in the world in Dubai to downtown Tokyo, Richard shows you step by step how he creates such dynamic and impactful images.
The ebook even includes 10 of his custom Lightroom presets for landscape and travel photography.
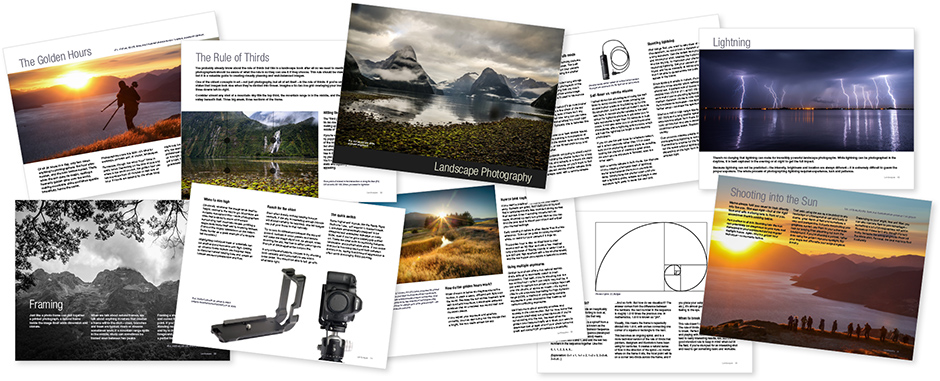
This thing is a full 271 pages of no-fluff content that I really enjoyed and covers a huge range of different topics to choose from.
Discount Hacking Photography readers
The ebook sells on Richards website for $99 but I was able to get us a discount so the price is only $39 for a very limited time! It pays to read this blog :)
Don’t take a rocket blower! I threw one in on a recent trip without thinking and spent 30 mins at security! They pulled everything in my camera bag apart. Luckily I had plenty of time to catch the plane that day but I won’t be repeating that mistake.
I’ve had issues with them at security checkpoints too! Sounds like some education and awareness training is in order for security officers. That being said, I still included it because I think they’re essential if you get a dirty sensor in the middle of nowhere.
Isn’t it crazy how they zero in on those? As if someone is going to take an obvious ‘mini-rocket’ in their luggage….