How many times have you ruined a great shot with camera shake? It happens to the best of us and there really is no substitute for keeping your camera steady.
I bet your thinking tripod now? But there are plenty of other options too. I’m going to share a bunch of ideas with you that will help you keep your camera still as you shoot freehand. I’ll also share some ideas for when it’s just not possible to keep your camera steady enough by hand.
1.Hold your camera properly
Now this might sound obvious but the way you hold your camera and how you stand will make a big difference to how steady your camera is when you take the shot. Think about a boxer and how he or she stands so they don’t get knocked over and copy that pose. Keep your legs slightly apart and bring your camera up to your face imagining it was a pair of gloves. Tuck arms in close to your body to help stop them moving at the vital second.
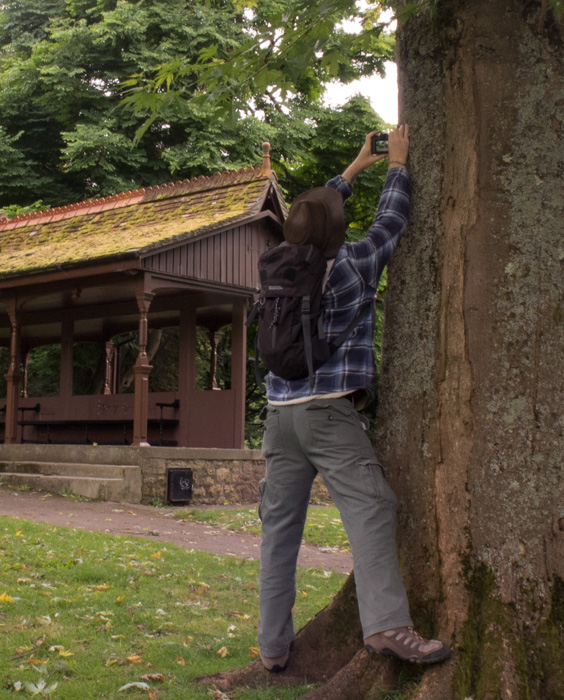
2.Lean on things
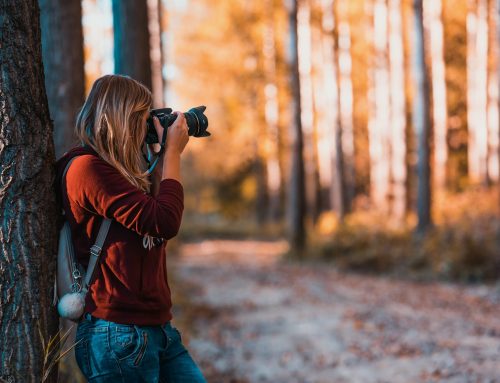
If there’s anything solid next to you then make the most of it and lean on it to prevent small movements. Keep your eyes peeled and look for walls, trees, lamp posts, tables etc. Anything solid will do a great job of helping you out with a steady camera.
3.Use your camera strap
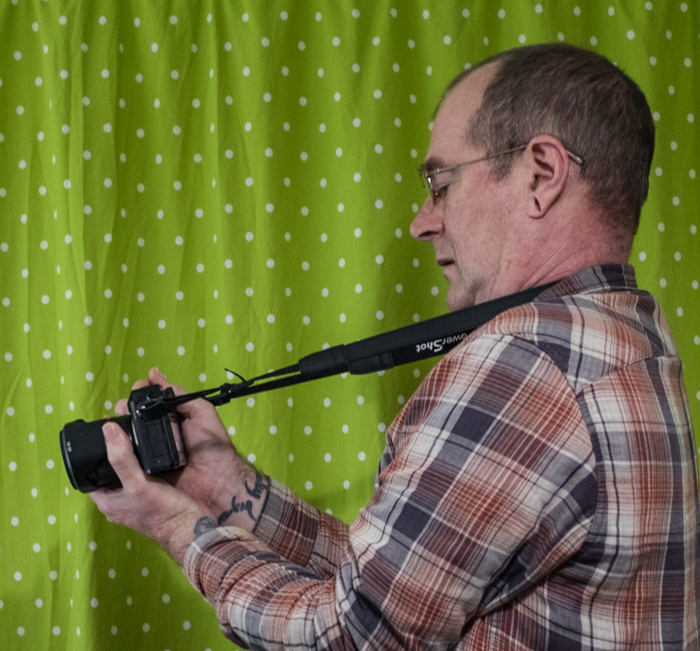
This might sound like the opposite of the first piece of advice I gave you but there are times when the best option is to pull your camera tight against its strap to at least keep it still. This way is going to be especially handy if your camera only has an LCD viewfinder where holding it close isn’t going to work.
4.Carry a piece of string
A simple, lightweight and free idea is to tie one end of a piece of string onto your camera, stand on the other end and pull it tight. With a bit of practice this makes a great way to give you a degree of steadiness as you take panning shots. It’s also a great way to keep your camera even steadier if you combine it with tip 3.
5.Pack a Beanbag
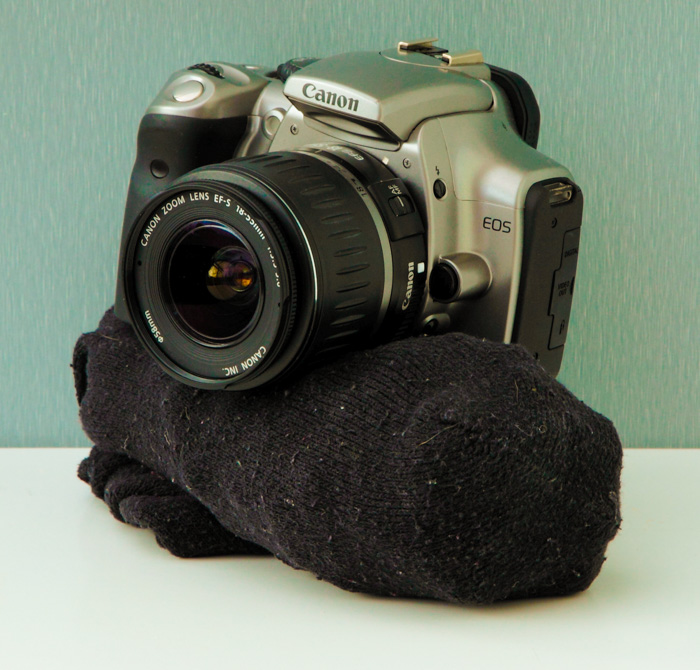
Putting your camera down is a great way to keep it steady. But who wants to risk damaging or dirtying their camera? A beanbag is the answer and has the added advantage of allowing you to angle your lens.
It’s an easy and cheap way to steady your camera. You could buy a beanbag but the cheapest option is just to use a bag of dry rice and pop it into a black sock like I’ve done here.
6.Experiment with Handgrips
As cameras get more compact it can be tricky to get a good solid grip on them. A hand grip helps solve this problem.
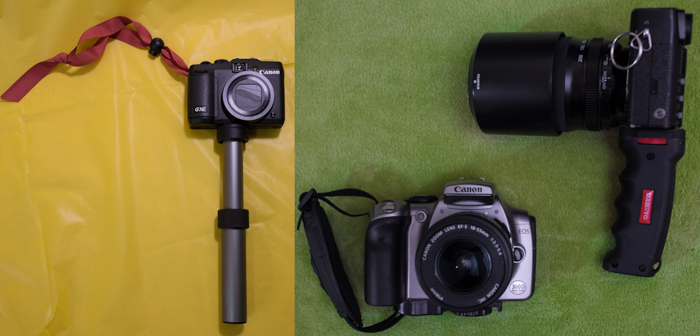
There are a huge range to try from expensive brand specific grips to far more affordable universal types. My personal choice is a pistol grip to give a larger handhold but there are countless options on the market.
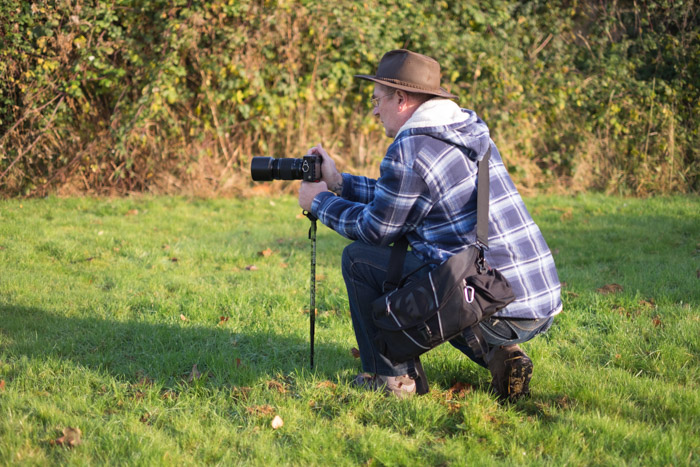
7.Monopod walking poles
A walking pole with a threaded head on it can work well. The big advantages are that it’s something to steady you as you walk on slippy or rough terrain while carrying your valuable camera and that it’ll take the weight of a big lens. The disadvantage is that unless you buy a separate head for it you will find it difficult to angle your camera up or downwards and still get the support you’d hoped for.
9.The trusty Tripod
A good tripod is something that’s going to make an enormous difference to your photography, a bad one will let your much loved camera hit the floor. There’s a massive range when it comes to picking a tripod and it’s likely that everyone will suggest something different.
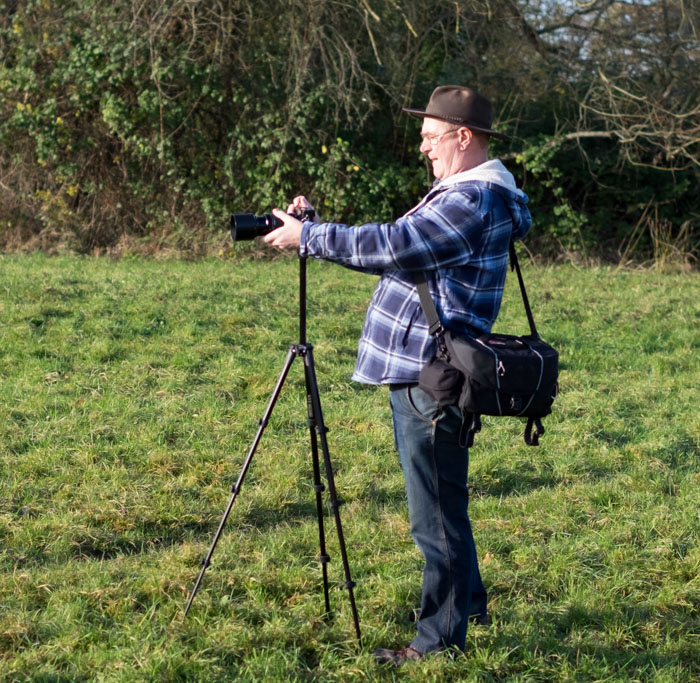
What I’d advise is that you spent time looking online and think about two main things, weight and strength. If your tripod is too heavy you’ll enjoy using it at home but won’t want to carry it with you. If it’s too weak it won’t be stable and strong enough to stand up to an adventure. When you come to spending your hard earned money remember that good equipment isn’t cheap.
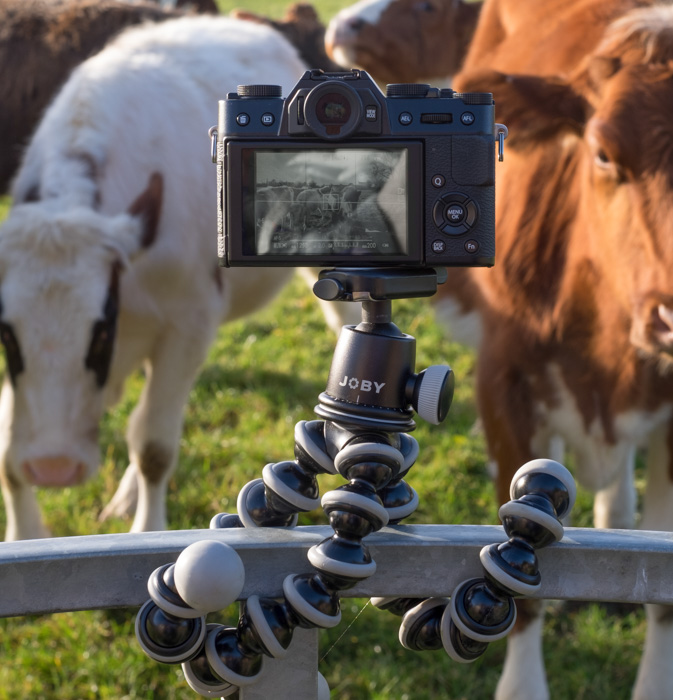
10.Gorillapod
A Gorillapod is an interesting option, its bobbly arms are flexible enough to wrap round table legs, tree branches etc. They come in a variety of sizes so you don’t have to spend a huge amount of cash if you’ve only got a lightweight camera but equally there are models that will hold a full blown DSLR with quite a hefty lens on it.
Other things to remember.
It’s worth getting used to using your camera’s self-timer or a remote control. Even the most solid of camera mounts will move slightly when you press the shutter button so giving the camera a few seconds to stop wobbling will help a lot.
Sometimes none of these options are available to you. This is the time to do as much as you can to speed up your shutter, raise the ISO, open your aperture or add light to the scene if possible to make sure you get your shot.


Excellent article -something I often find difficult! Especially impressed with the rice in a sock idea- will be trying that one!
Thanks for the comment Nic, I thought that sock thing was pretty smart too!